This post may contain affiliate links. To learn more check my disclosure page.


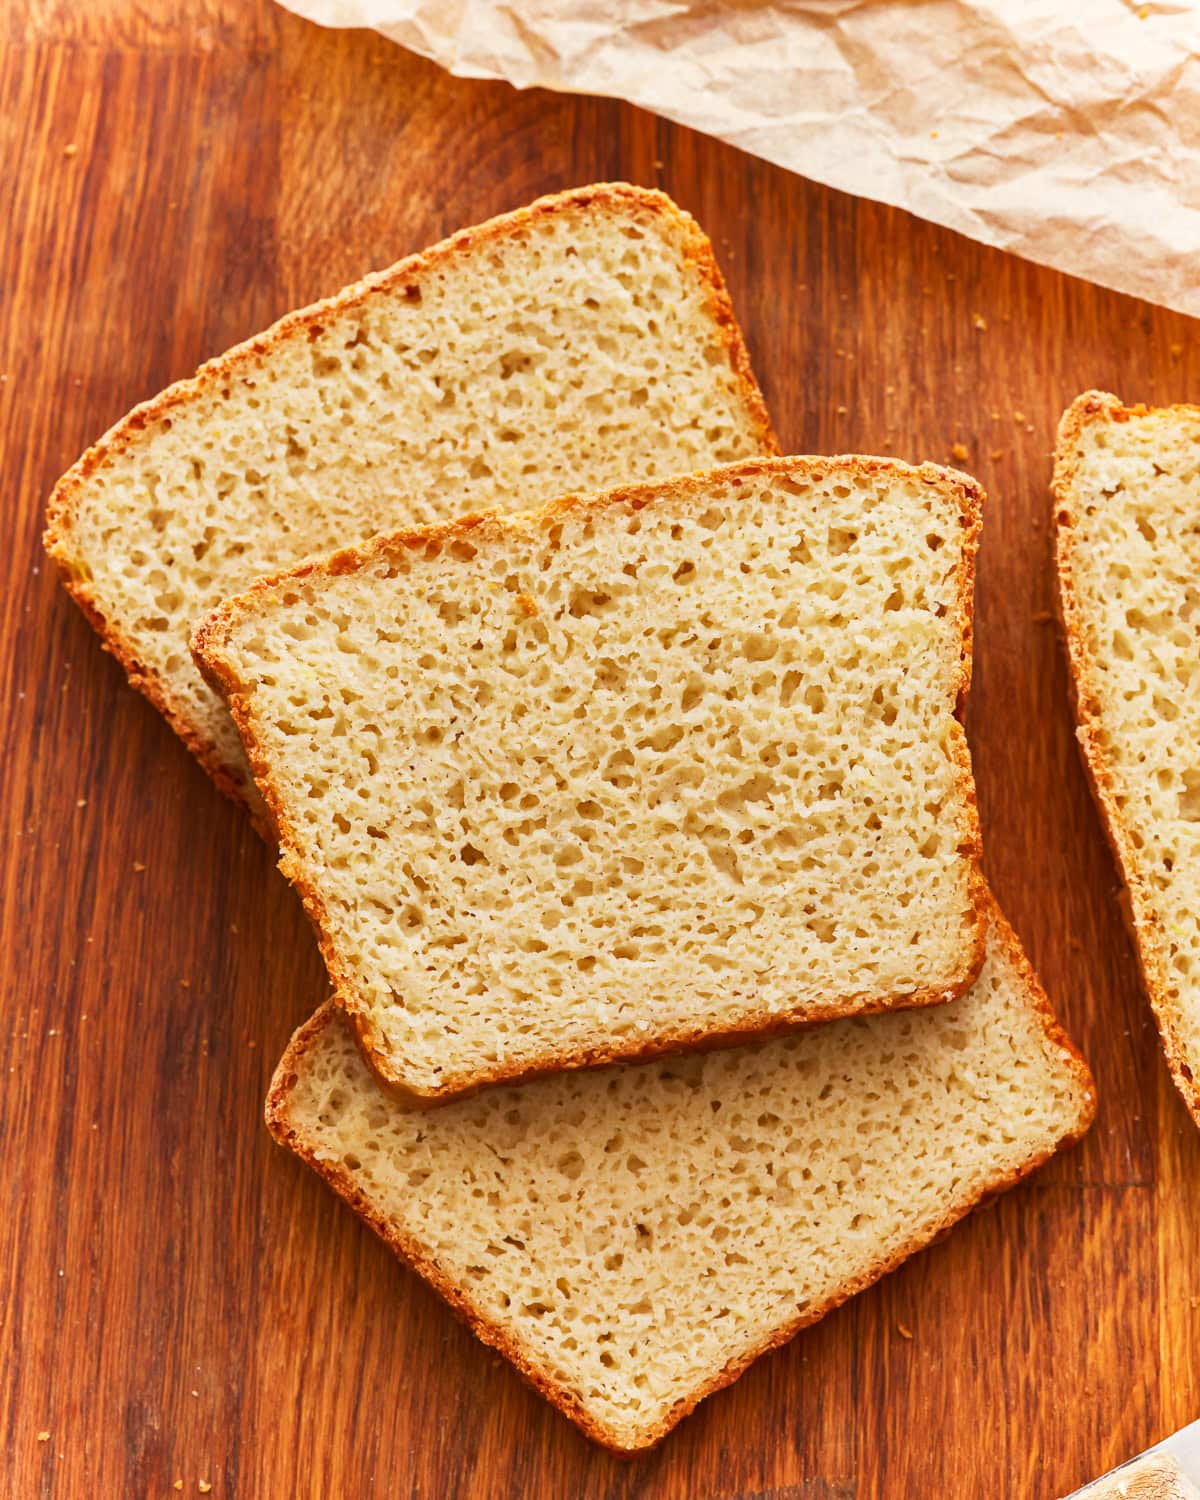
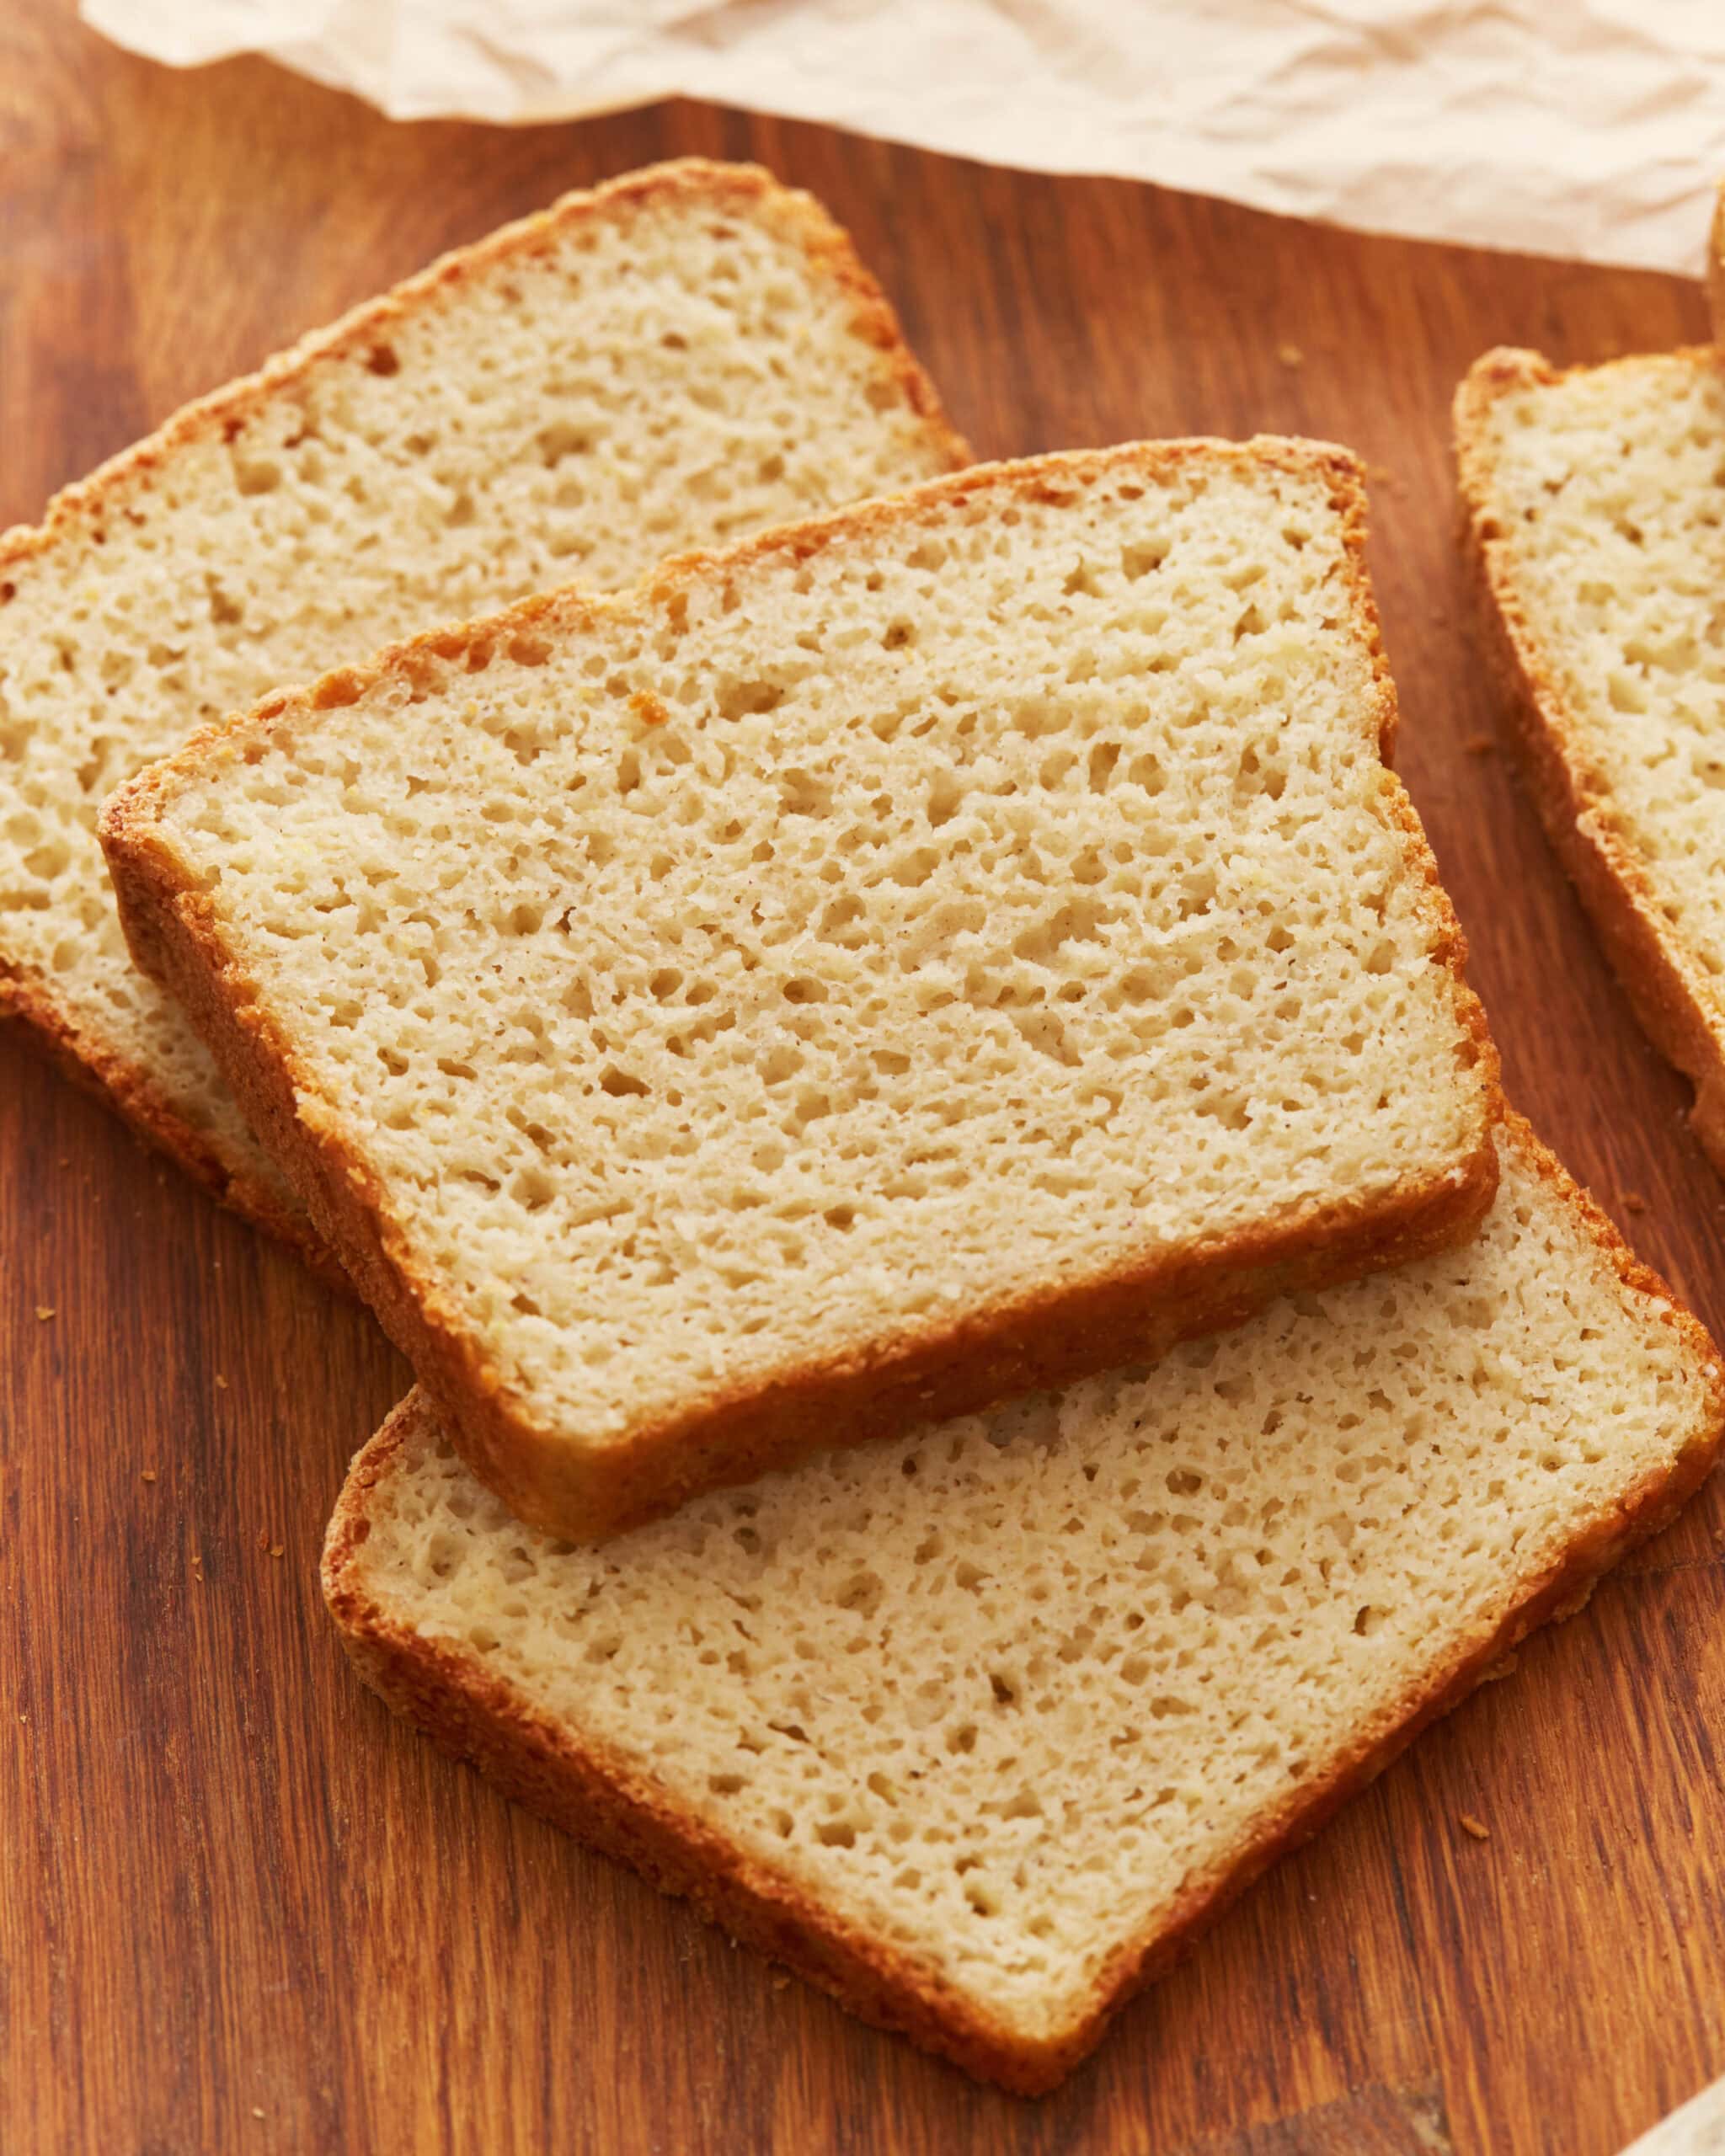
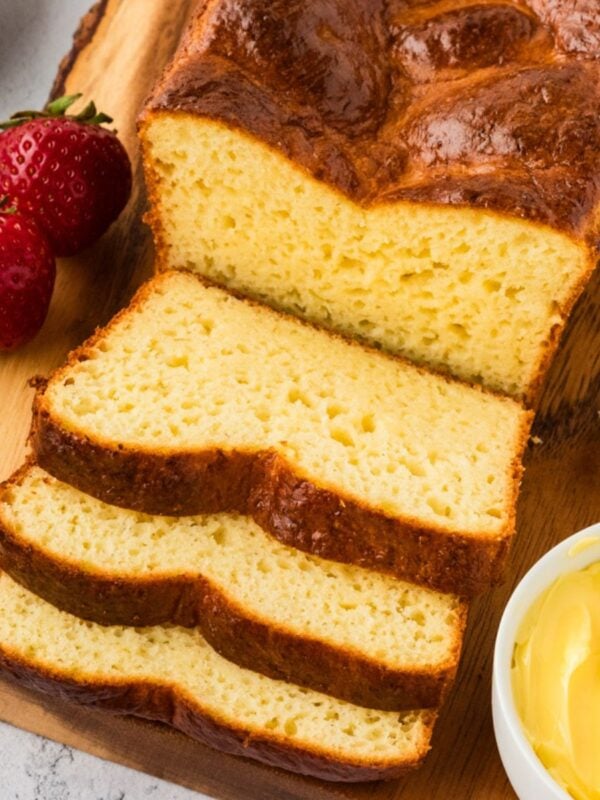
There’s only so much I can do with leftover mashed potatoes, and this gluten-free potato bread is one of my favorite ways to use them! It has the most beautiful crumb, with plenty of air bubbles, and slices like a dream. The potatoes also add the perfect amount of moisture and a hearty flavor that I can’t get enough of! This is one of the easiest gluten-free bread recipes I’ve ever made, and my kids love it, too.
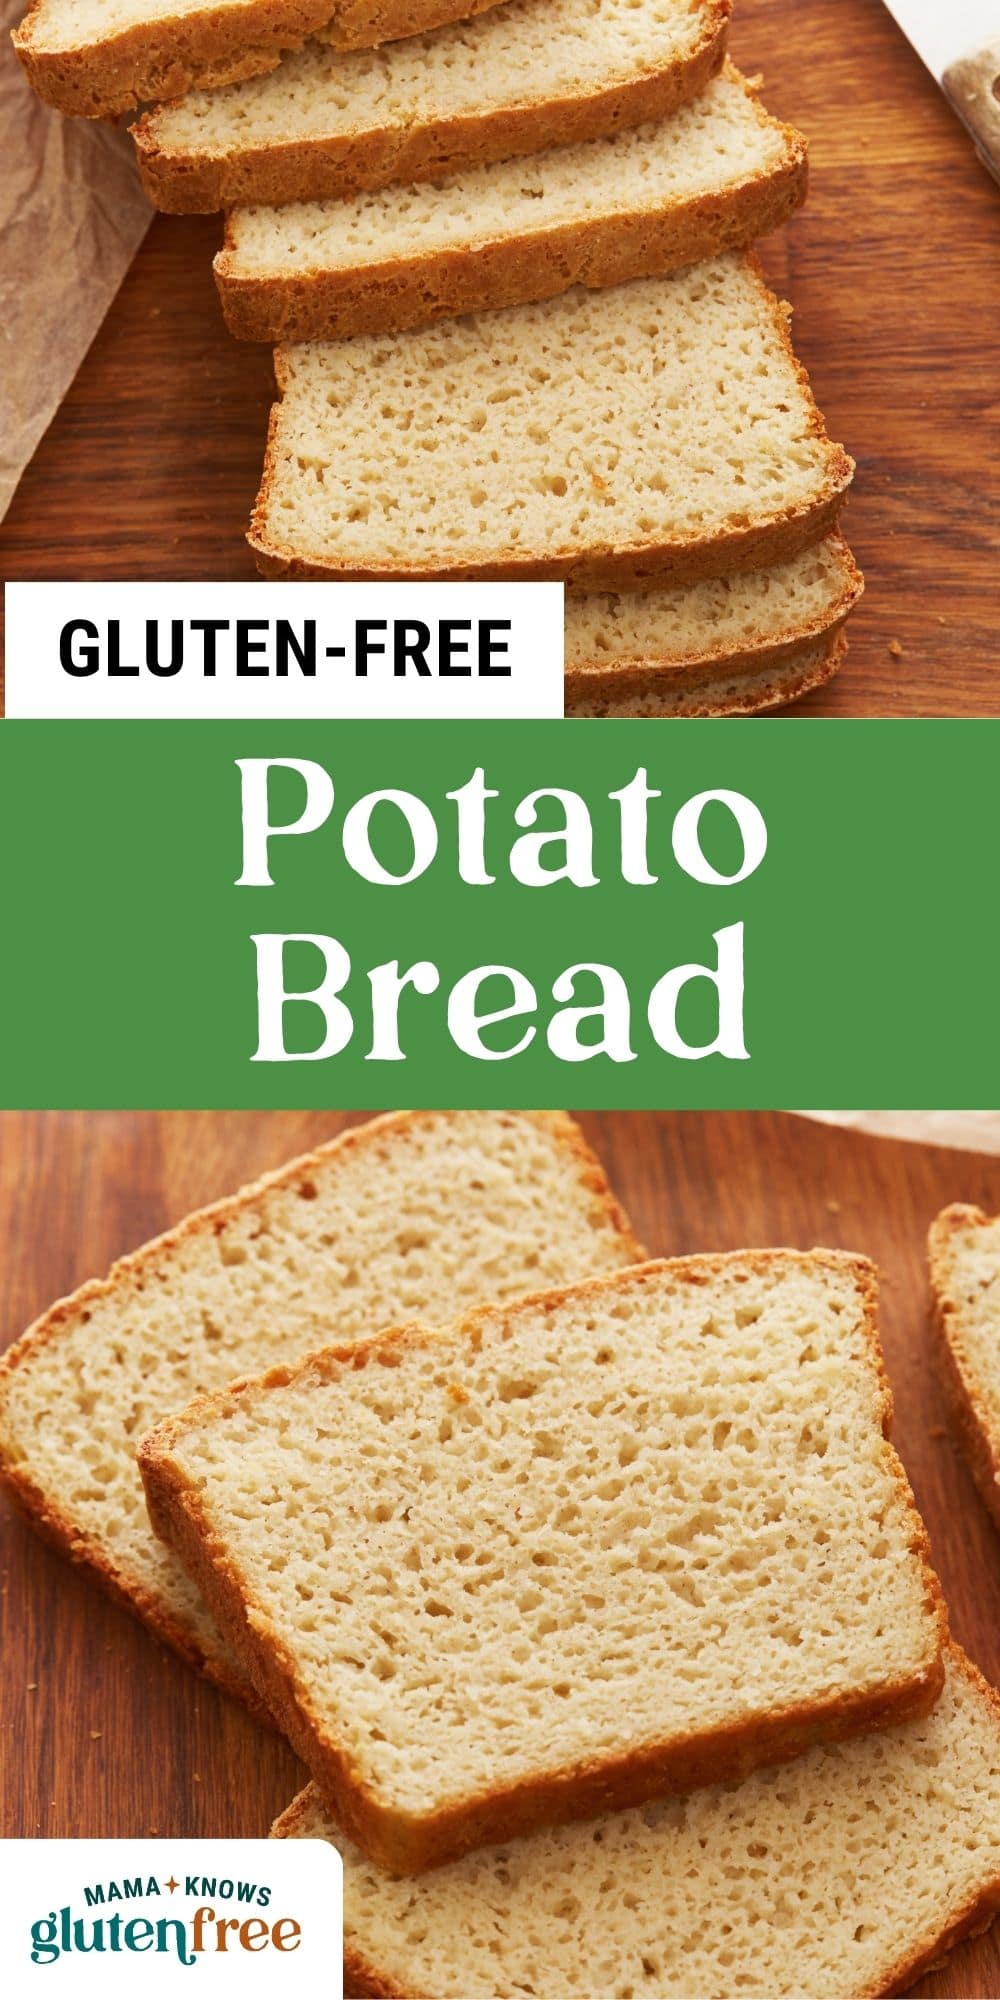
Gluten-Free Potato Bread Recipe
I’ve shared many bread recipes over the years, like my easy gluten-free bread and gluten-free sourdough. So, I figured it was time to share my go-to recipe for gluten-free potato bread! My secret for making the best potato bread is all in the prep work. I let the dough rise twice and combine gluten-free flour and tapioca flour to get the perfect texture. The result is always a soft, fluffy, and moist loaf of bread – perfect for sandwiches or just slathered with butter!
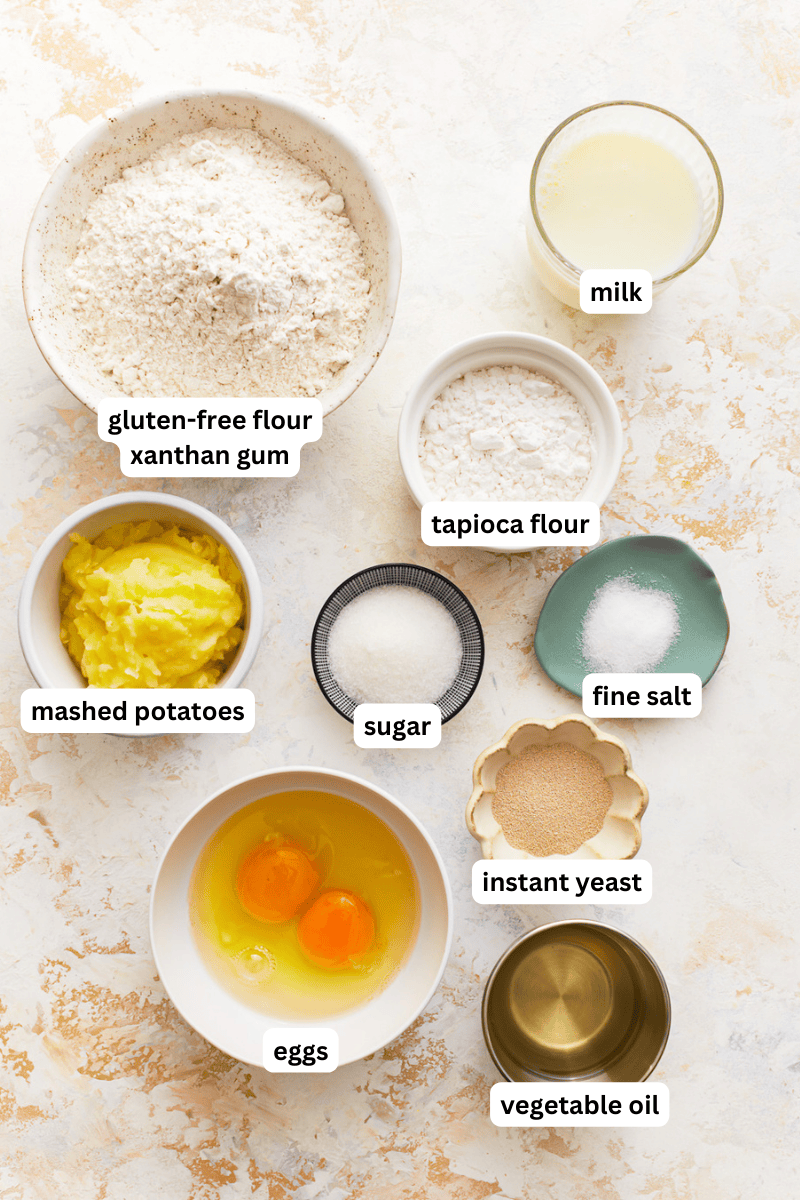
Ingredients
- All-Purpose Gluten-Free Flour Blend: This adds structure and texture to the bread. I like Pillsbury’s gluten-free flour or Better Batter. Not all gluten-free flours are created equal, and you might experience different results depending on the brand you use. Always check the packaging to see if your gluten-free flour is suitable for yeast baking.
- Xanthan Gum: Helps bind the ingredients together and adds elasticity to the dough. Omit this if your gluten-free flour blend already contains xanthan gum.
- Tapioca Flour: Creates a light, fluffy texture. It also helps with browning and adds a slight chewiness.
- Granulated Sugar: This feeds the yeast and helps the bread rise. Don’t skip this ingredient! It doesn’t make the bread sweet, as the yeast consumes the sugar during proofing.
- Instant Yeast: This makes the bread rise and gives it that airy texture. I prefer using instant yeast as it doesn’t need to be activated separately.
- Fine Salt: Enhances the flavor of the gluten-free potato bread.
- Mashed Potatoes: Adds moisture while keeping the bread sturdy and soft. I usually use leftover mashed potatoes, but you can freshly steam one medium-sized potato (to make one cup of mash). The mashed potatoes should be cool and have no added cream/milk/butter/flavoring.
- Warm Milk: Activates the yeast and adds moisture. It should be about 110°F for the best results. If it’s too cold, the yeast won’t activate and if it’s too hot, it’ll kill the yeast.
- Eggs: Use large, room-temperature eggs.
- Mild Vegetable Oil: Keeps the bread moist and doesn’t add any unwanted flavors.
Tips and Suggestions
- Feel free to experiment with different gluten-free flour blends, like rice flour, potato flour, or a combination of gluten-free flour. Just keep in mind different flours may produce slightly different textures and flavors. Make sure the flour blend you use is suitable for yeast baking.
- I always recommend using the spoon-and-level method to measure gluten-free flour. Spoon the flour into the measuring cup, then level it off with a knife. Don’t scoop the flour directly from the bag. Doing this packs the flour, and you’ll end up using more than what’s needed.
- The bread dough has risen enough during the first rise when it’s doubled in size (about 1-2 hours). The second rise is complete when the dough rises to the top of the loaf pan. I like to perform the ‘finger test’ to check if the dough is ready for baking. Gently press your finger into the risen dough; if the indentation remains, it’s ready for baking.
- Different environments will affect the dough’s rising time. If it’s a warm and humid day, the dough may rise faster than on a cold and dry day. Use my timings as a guide, and keep an eye on your dough.
- Don’t use leftover mashed potatoes with any added ingredients, as it’ll change the texture and flavor of the bread.
- Always deflate the bread dough after the first rise to remove larger air bubbles. This helps create an even crumb in your gf potato bread.
- Grease the loaf pan lightly with oil or cooking spray to stop the bread from sticking.
- Let your potato bread cool before slicing – bread will collapse if cut while still hot!
Is Potato Bread Gluten Free?
Traditional potato bread recipes often contain wheat flour, which makes it not suitable for anyone on a gluten-free diet. However, potato bread can be gluten-free if made with gluten-free flour and other gluten-free ingredients! My recipe uses all-purpose gluten-free flour and tapioca flour, making it totally gluten-free and safe for my family to enjoy!

Can I Make This Bread Without a Stand Mixer?
Yes, you can! While a stand mixer makes the process easier, I’ve successfully made this bread by hand using a wooden spoon and some elbow grease. Simply follow the same instructions, mixing and kneading until smooth and elastic.
Storage Instructions
Store any leftover gluten-free potato bread in an airtight container or resealable bag at room temperature for 2-3 days. I find it keeps better when sliced as needed rather than pre-slicing the whole loaf. To keep the bread fresher for longer, store it in the refrigerator. To reheat, pop a slice into the toaster or oven for a few minutes until warmed.
For even longer storage, you can also freeze the bread. Let your loaf cool completely, then wrap it in plastic wrap and place it in a freezer-safe bag or container. It’ll be good for 2-3 months and should be thawed in the refrigerator overnight before slicing and serving.
More Gluten-Free Bread Recipes to Try!
- Gluten-Free Bread Machine Bread
- Gluten-Free Zucchini Bread
- Almond Flour Bread
- Gluten-Free Pita Bread
- Gluten-Free Hot Dog Buns
Gluten-Free Potato Bread

Ingredients
- 2 cups all-purpose gluten-free flour blend
- 1 teaspoon xanthan gum, omit if your flour blend already contains it
- ⅓ cup tapioca flour
- 2 tablespoons granulated sugar
- 2¼ teaspoons instant yeast
- ½ teaspoon fine salt
- 1 cup mashed potatoes
- 1 cup warm milk, about 110°F
- 2 large eggs
- ¼ cup vegetable oil, mild
Instructions
- In the bowl of a stand mixer fitted with the paddle attachment, combine the all-purpose gluten-free flour blend, xanthan gum (if using), tapioca flour, granulated sugar, instant yeast, and fine salt. Stir until combined. Add the mashed potatoes, warm milk, eggs, and oil and mix until a sticky dough forms and all the ingredients are evenly incorporated.
- Once the dough starts to come together, switch to the dough hook attachment. Continue to knead the dough on medium-low speed for about 2-3 minutes until it becomes smooth and elastic. The dough will be sticky, but avoid adding extra flour.
- Cover the bowl with plastic wrap or a clean kitchen towel and let the dough rise in a warm, draft-free place for about 1-2 hours, or until it doubles in size.
- Once the dough has risen, preheat your oven to 375°F. Lightly grease a 9×5-inch loaf pan with cooking spray or oil.
- Deflate the risen dough to release any air bubbles. Transfer the dough to the prepared loaf pan and smooth out the top with a wet spatula or your hands.
- Cover the loaf pan loosely with plastic wrap or a clean kitchen towel and let the dough rise for an additional 30-45 minutes, or until it reaches the top of the pan.
- Once the dough has risen again, remove the plastic wrap or towel and bake the bread in the preheated oven for 40-45 minutes, or until the top is golden brown and the bread sounds hollow when tapped on the bottom.
- Remove the bread from the oven and allow it to cool in the pan for 5-10 minutes. Then, carefully transfer the bread to a wire rack to cool completely before slicing.
Notes
- Feel free to experiment with different gluten-free flour blends, like rice flour, potato flour, or a combination of gluten-free flour. Just keep in mind different flour blends may produce slightly different textures and flavors. Make sure the flour blend you use is suitable for yeast baking.
- I always recommend using the spoon-and-level method to measure gluten-free flour. Spoon the flour into the measuring cup, then level it off with a knife. Don’t scoop the flour directly from the bag. Doing this packs the flour, and you’ll end up using more than what’s needed.
- The bread dough has risen enough during the first rise when it’s doubled in size (about 1-2 hours). The second rise is complete when the dough rises to the top of the loaf pan. I like to perform the ‘finger test’ to check if the dough is ready for baking. Gently press your finger into the risen dough; if the indentation remains, it’s ready for baking.
- Different environments will affect the dough’s rising time. If it’s a warm and humid day, the dough may rise faster than on a cold and dry day. Use my timings as a guide, and keep an eye on your dough.
- Don’t use leftover mashed potatoes with any added ingredients, as it’ll change the texture and flavor of the bread.
- Always deflate the bread dough after the first rise to remove larger air bubbles. This helps create an even crumb in your gf potato bread.
- Grease the loaf pan lightly with oil or cooking spray to stop the bread from sticking.
- Let your gluten-free bread cool before slicing – bread will collapse if cut while still hot!
- To Store: Keep in an airtight container at room temperature for 2-3 days. It’ll keep longer in the refrigerator. Slice only when ready to serve rather than pre-slicing the whole loaf.
- To Freeze: Let cool and wrap in plastic wrap. Store in a freezer-safe container for 2-3 months. Let it thaw overnight in the refrigerator.
Nutrition
Nutrition information is automatically calculated, so should only be used as an approximation.
How to make Gluten Free Potato Bread Step-by-Step
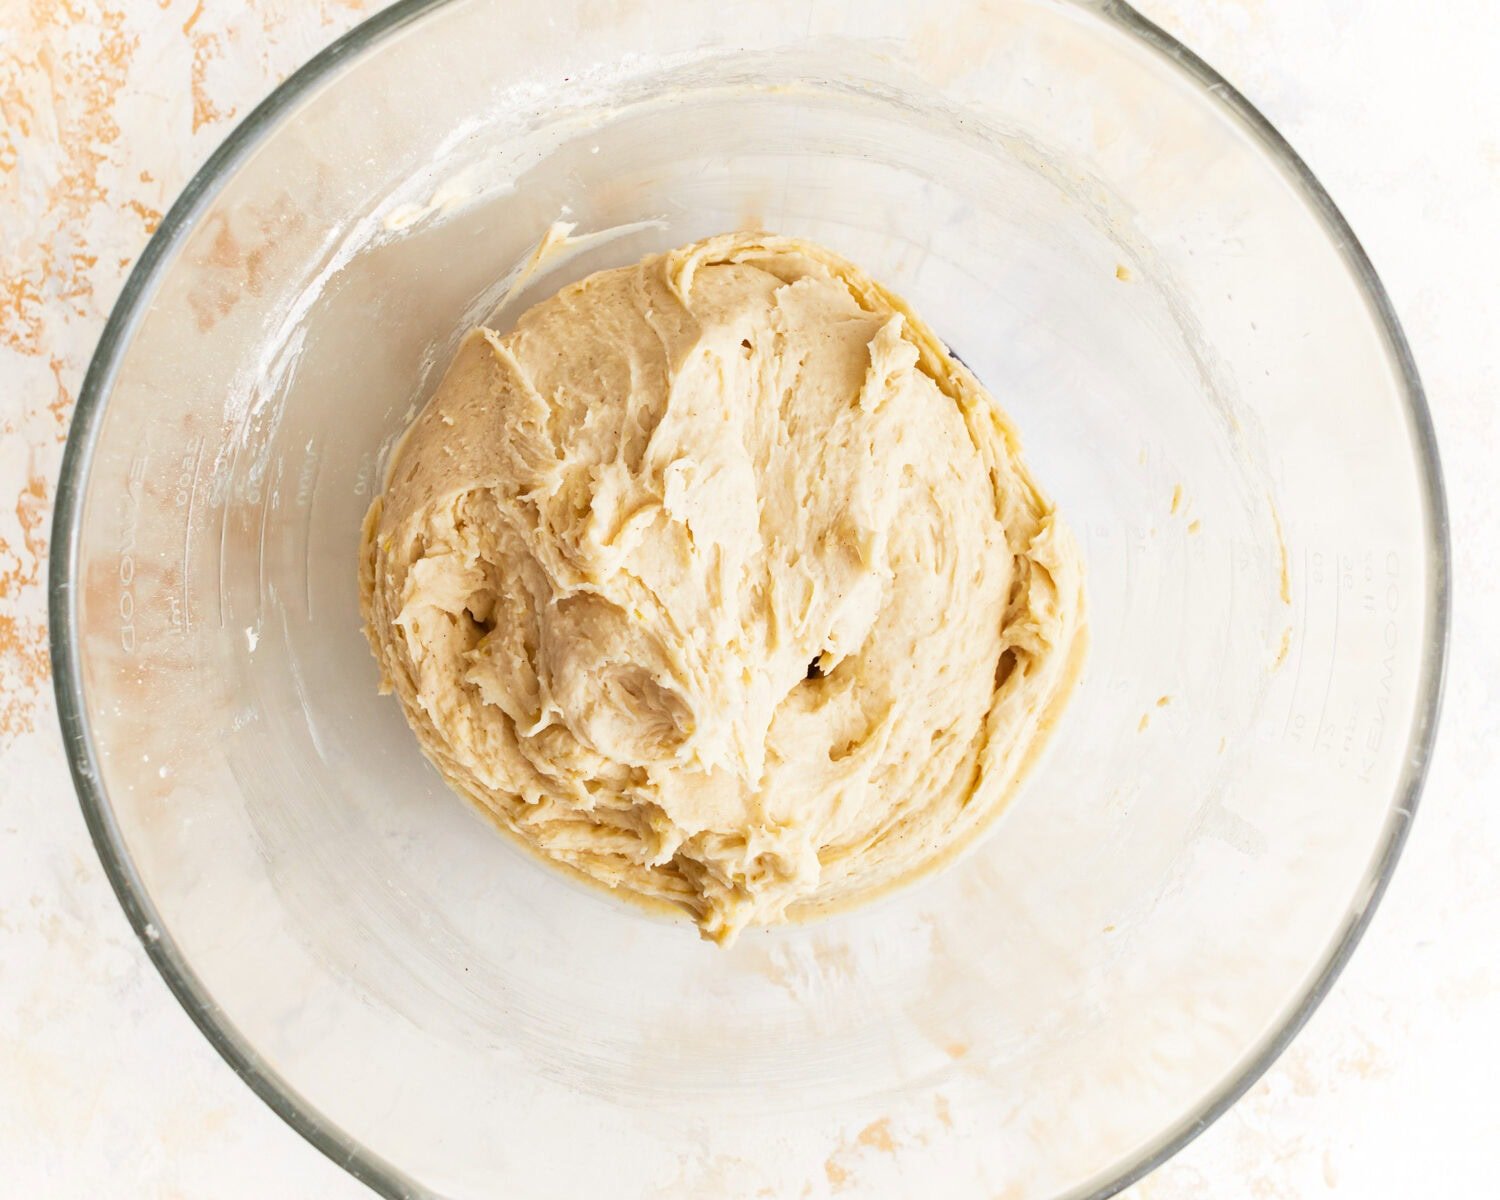
In your stand mixer bowl, add 2 cups of all-purpose gluten-free flour blend, 1 teaspoon xanthan gum (omit if your flour blend already contains it), 1/3 cup of tapioca flour, 2 tablespoons granulated sugar, 2 1/4 teaspoons of instant yeast, and 1/2 teaspoon of fine salt. Mix using the paddle attachment until well combined. Next, add 1 cup of mashed potatoes, 1 cup of warm milk (about 110°F), 2 large eggs, and 1/4 cup of mild vegetable oil. Mix until all the ingredients are incorporated and a sticky dough forms.
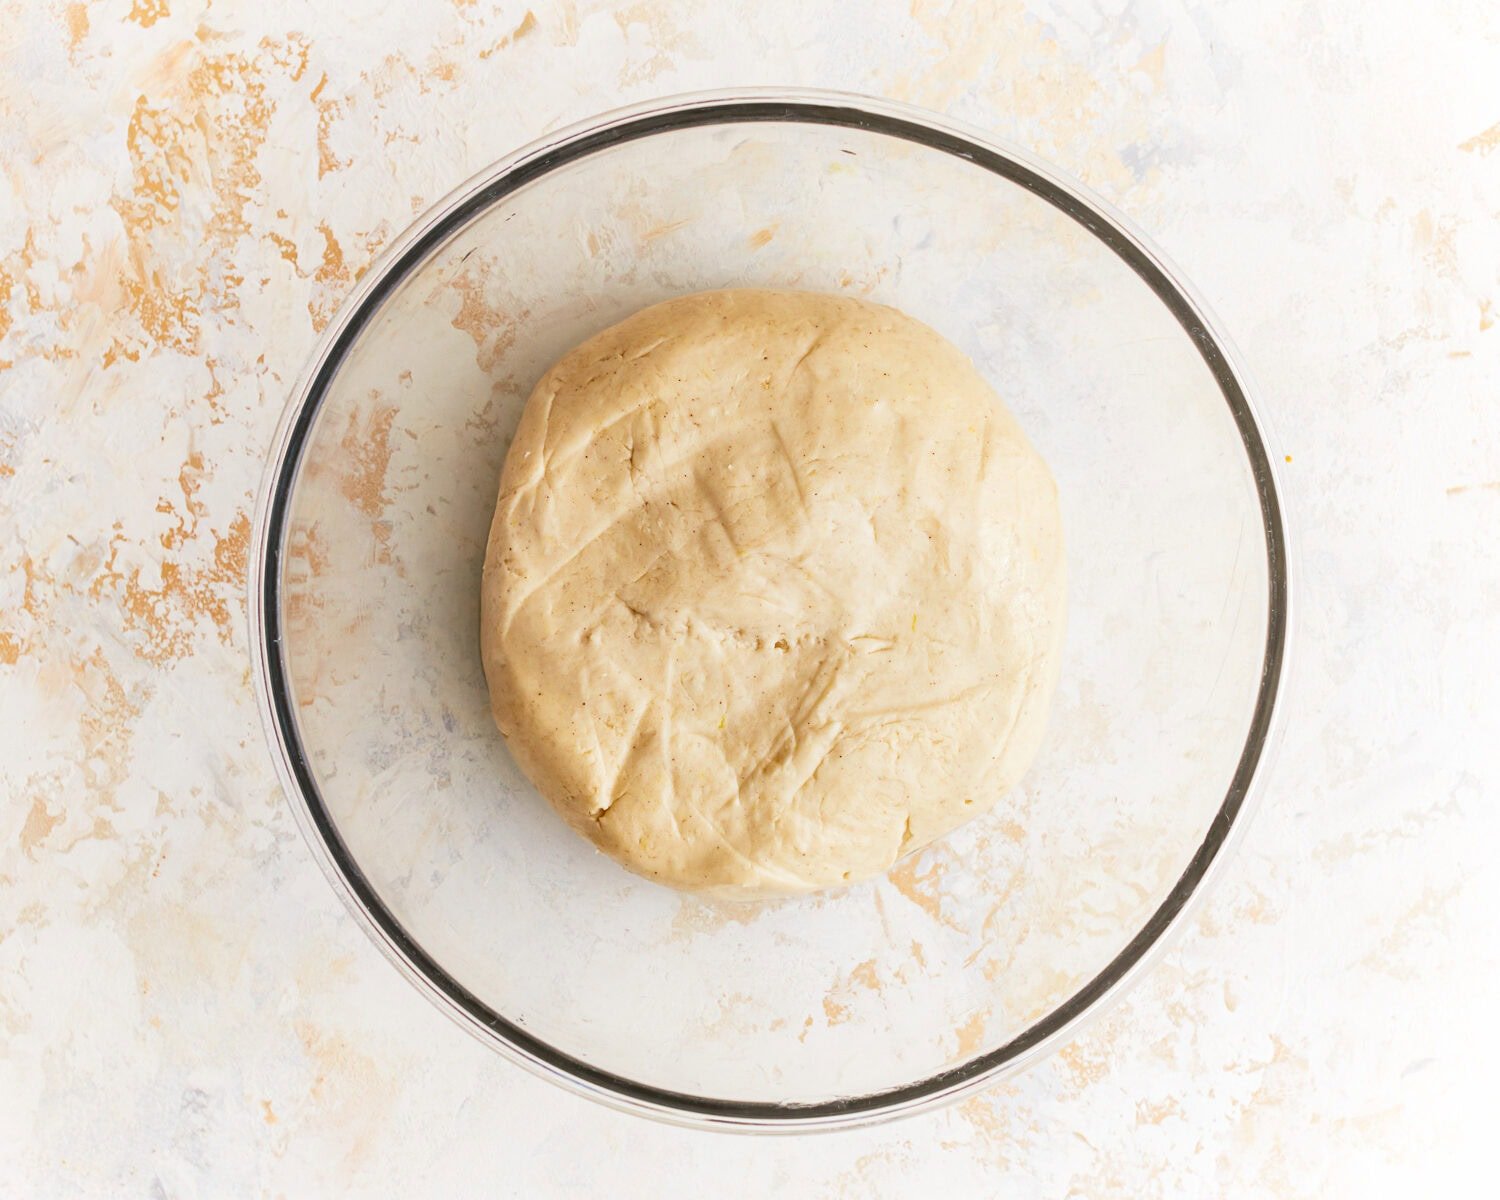
Switch to the dough hook attachment and knead at medium-low speed for about 2-3 minutes. The dough should become smooth and elastic but still sticky. Don’t be tempted to add more flour – it’s supposed to be sticky!
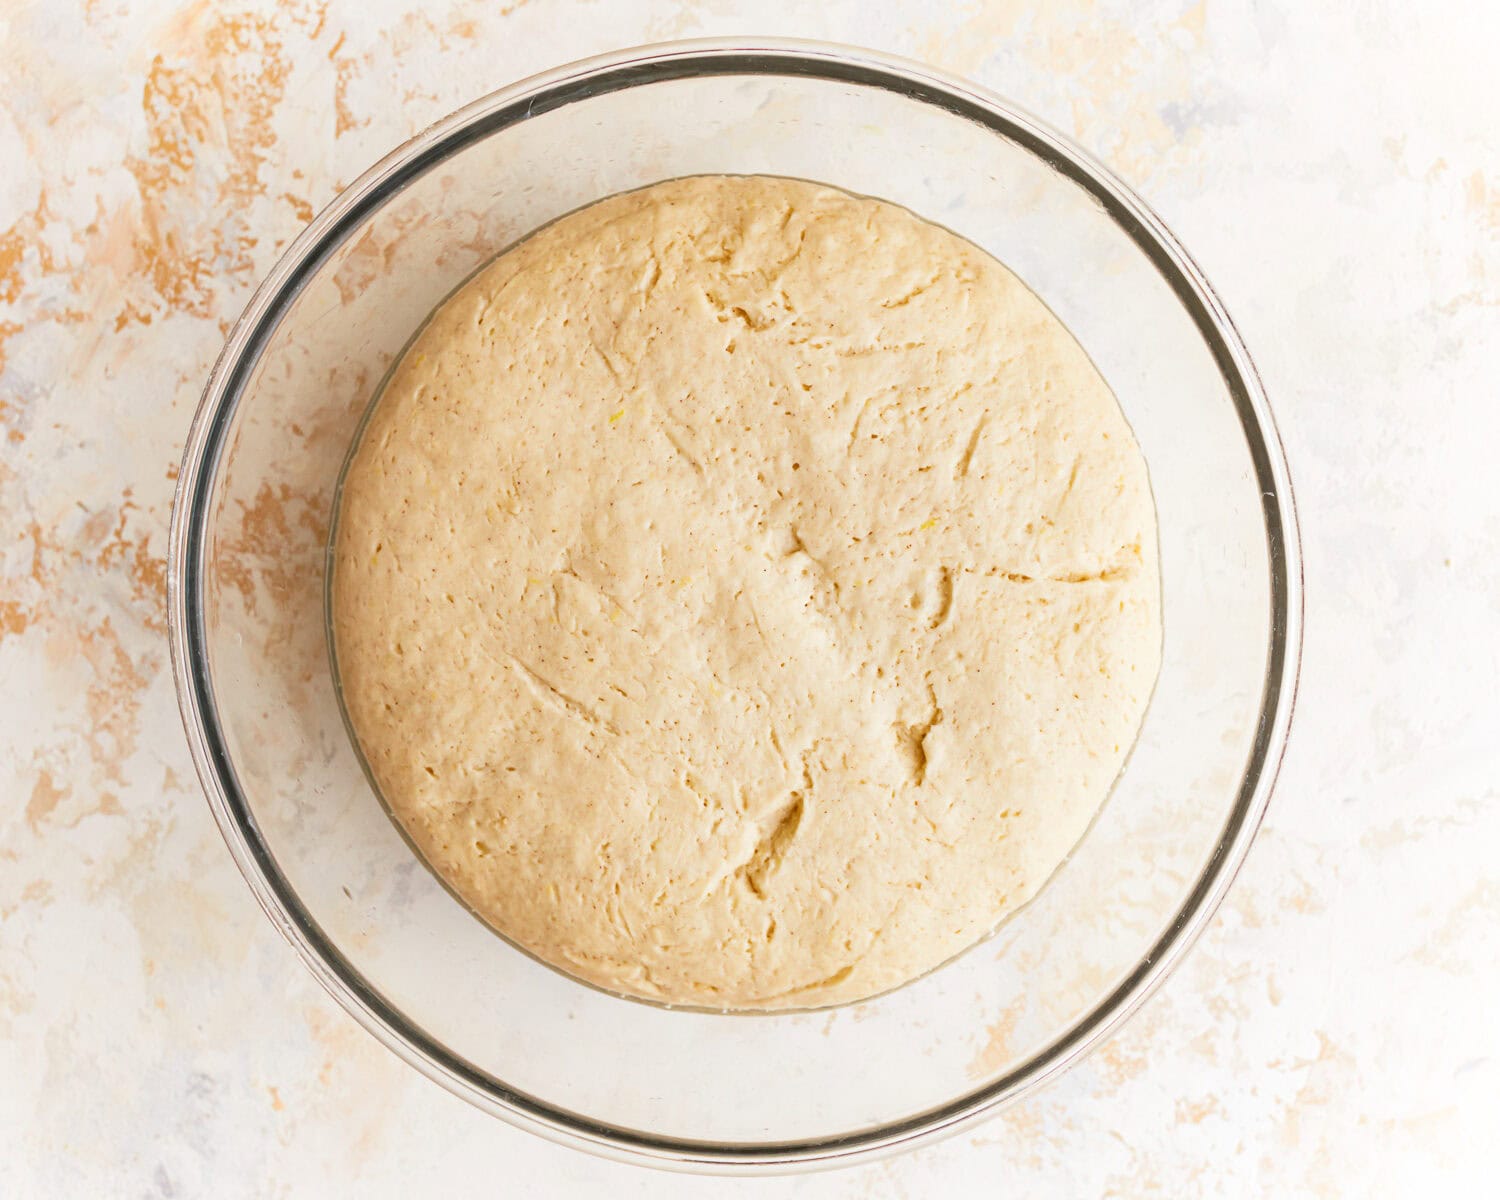
Using a clean kitchen towel or plastic wrap, cover the bowl and leave the dough to rise in a warm, draft-free place for 1-2 hours or until doubled in size. Once the dough has risen enough, lightly grease a 9×5 inch loaf pan with oil or cooking spray and preheat your oven to 375°F.
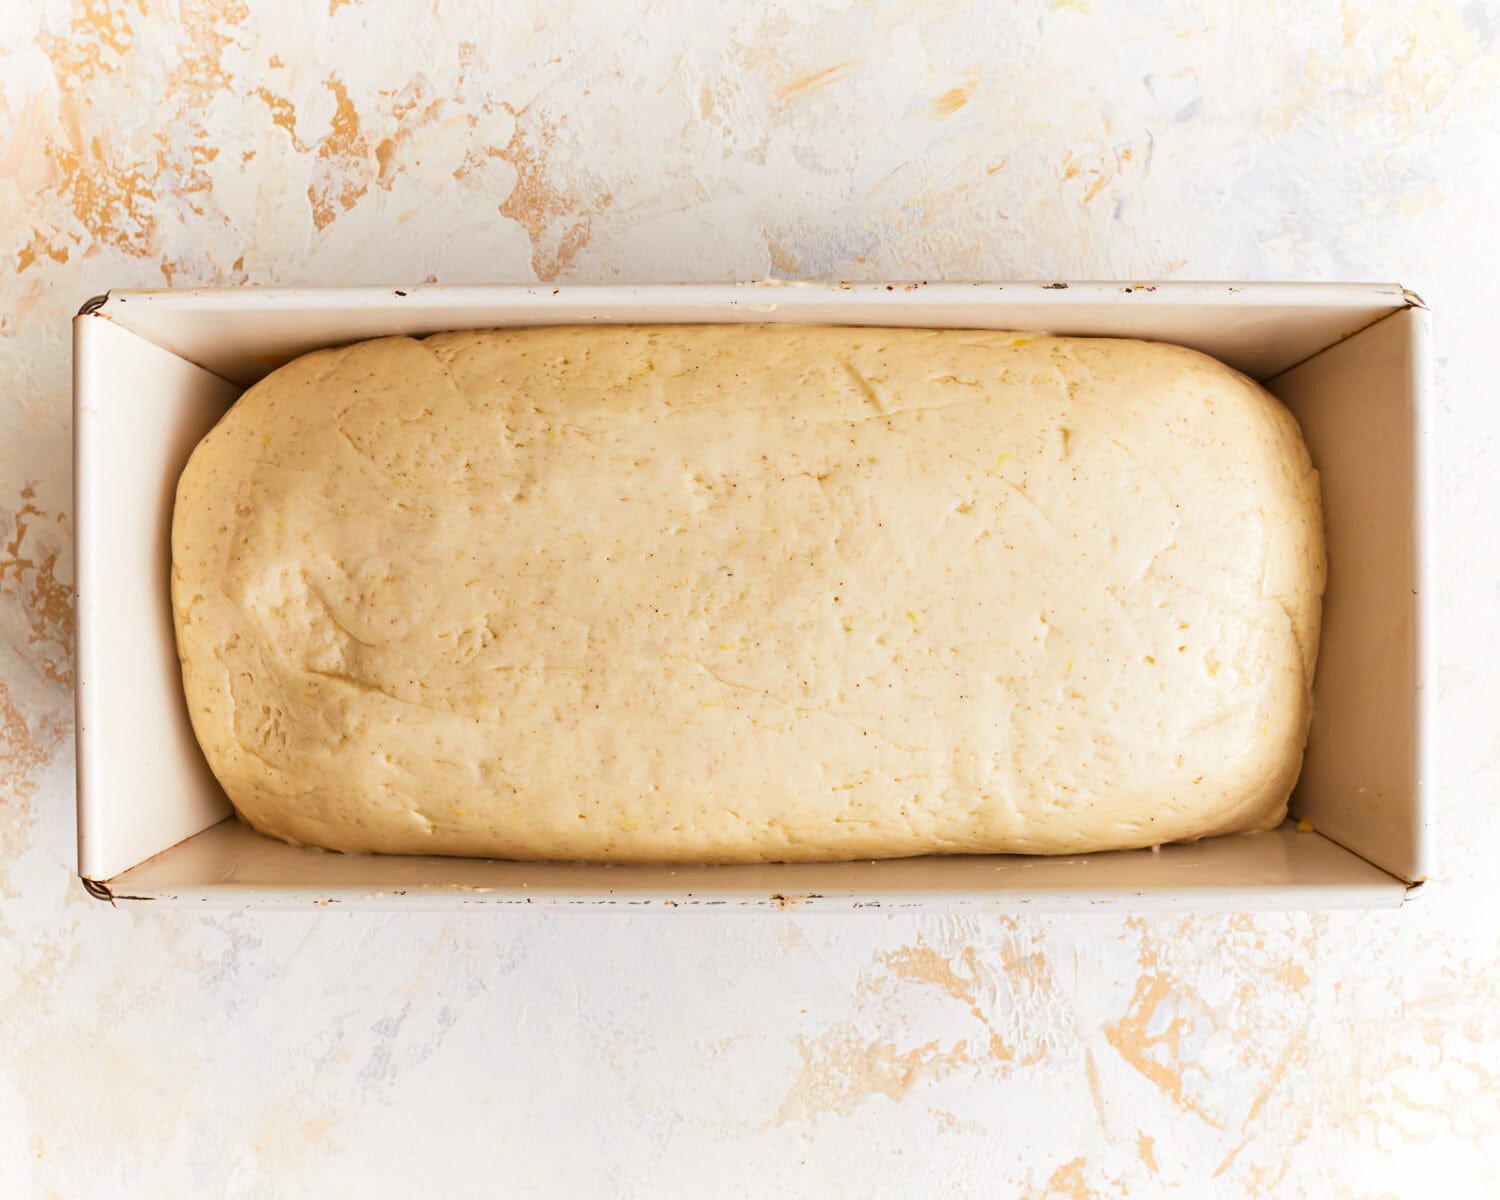
Deflate the dough with your hands to release any air bubbles (known as punching down) and transfer it to the prepared loaf pan. Smooth out the top with wet hands or a wet spatula.
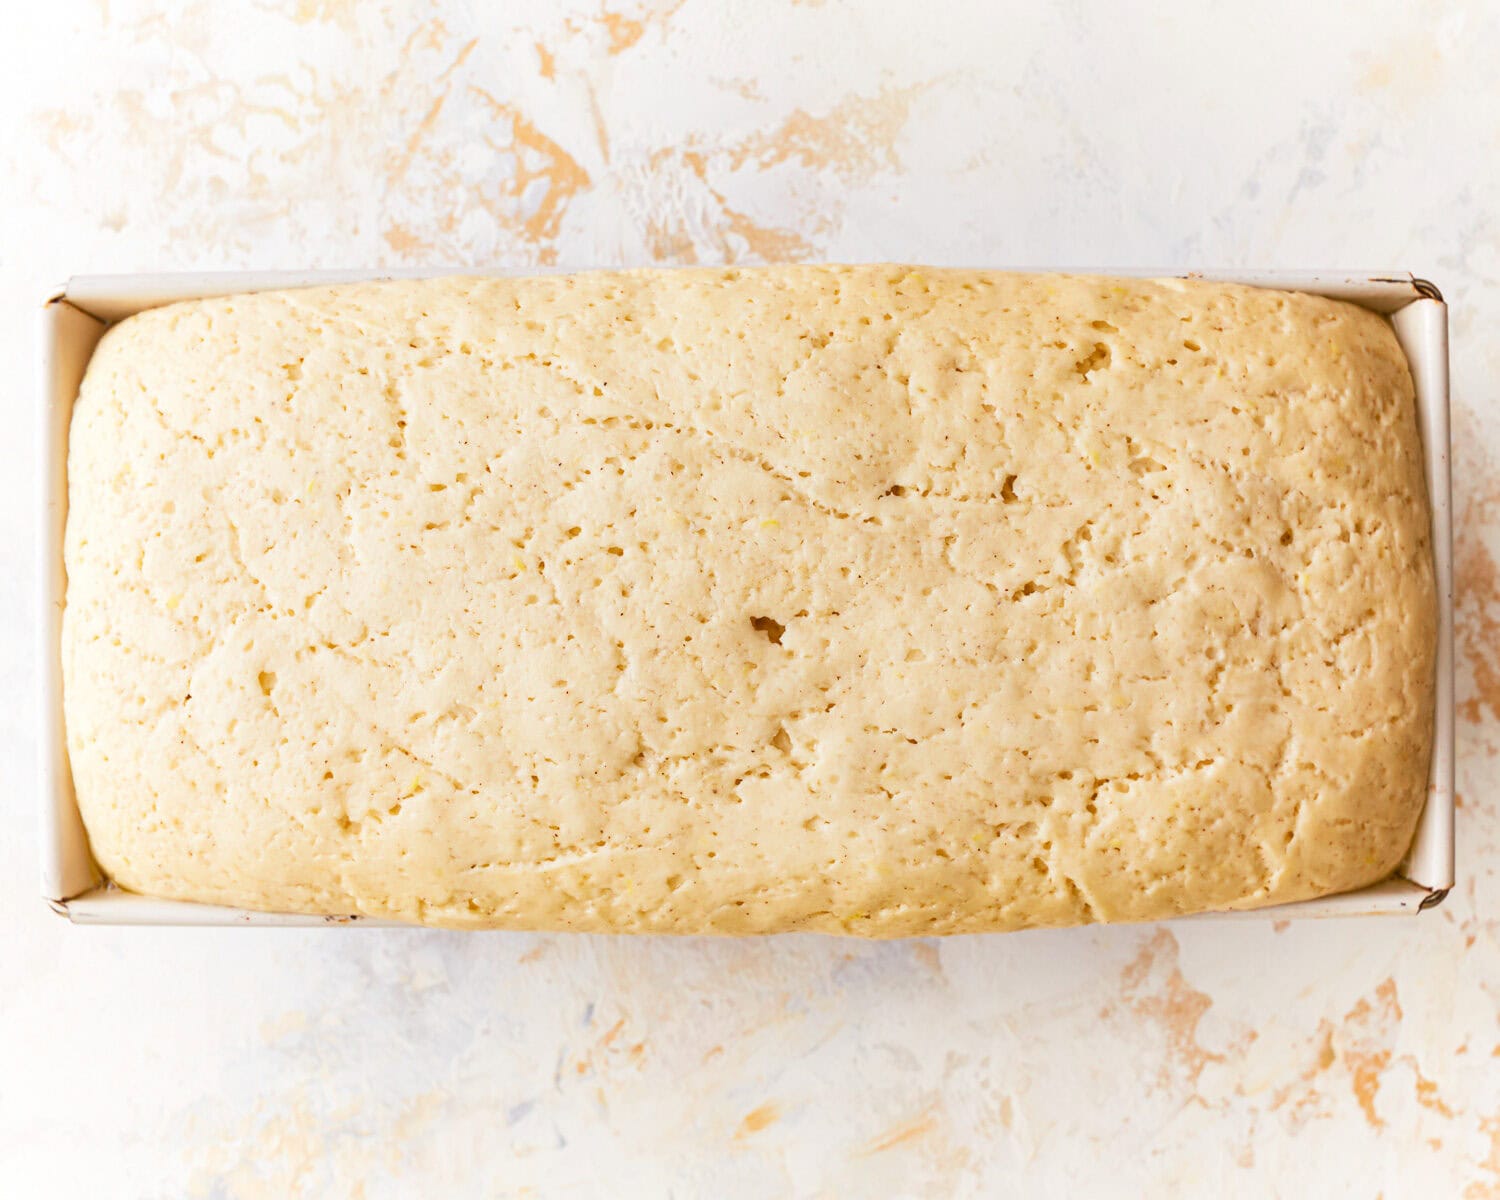
Now, we need to let the dough proof before baking. Cover the pan loosely with plastic wrap or a clean kitchen towel and let it rise in a warm place for 30-45 minutes or until it has risen to the top of the loaf pan.
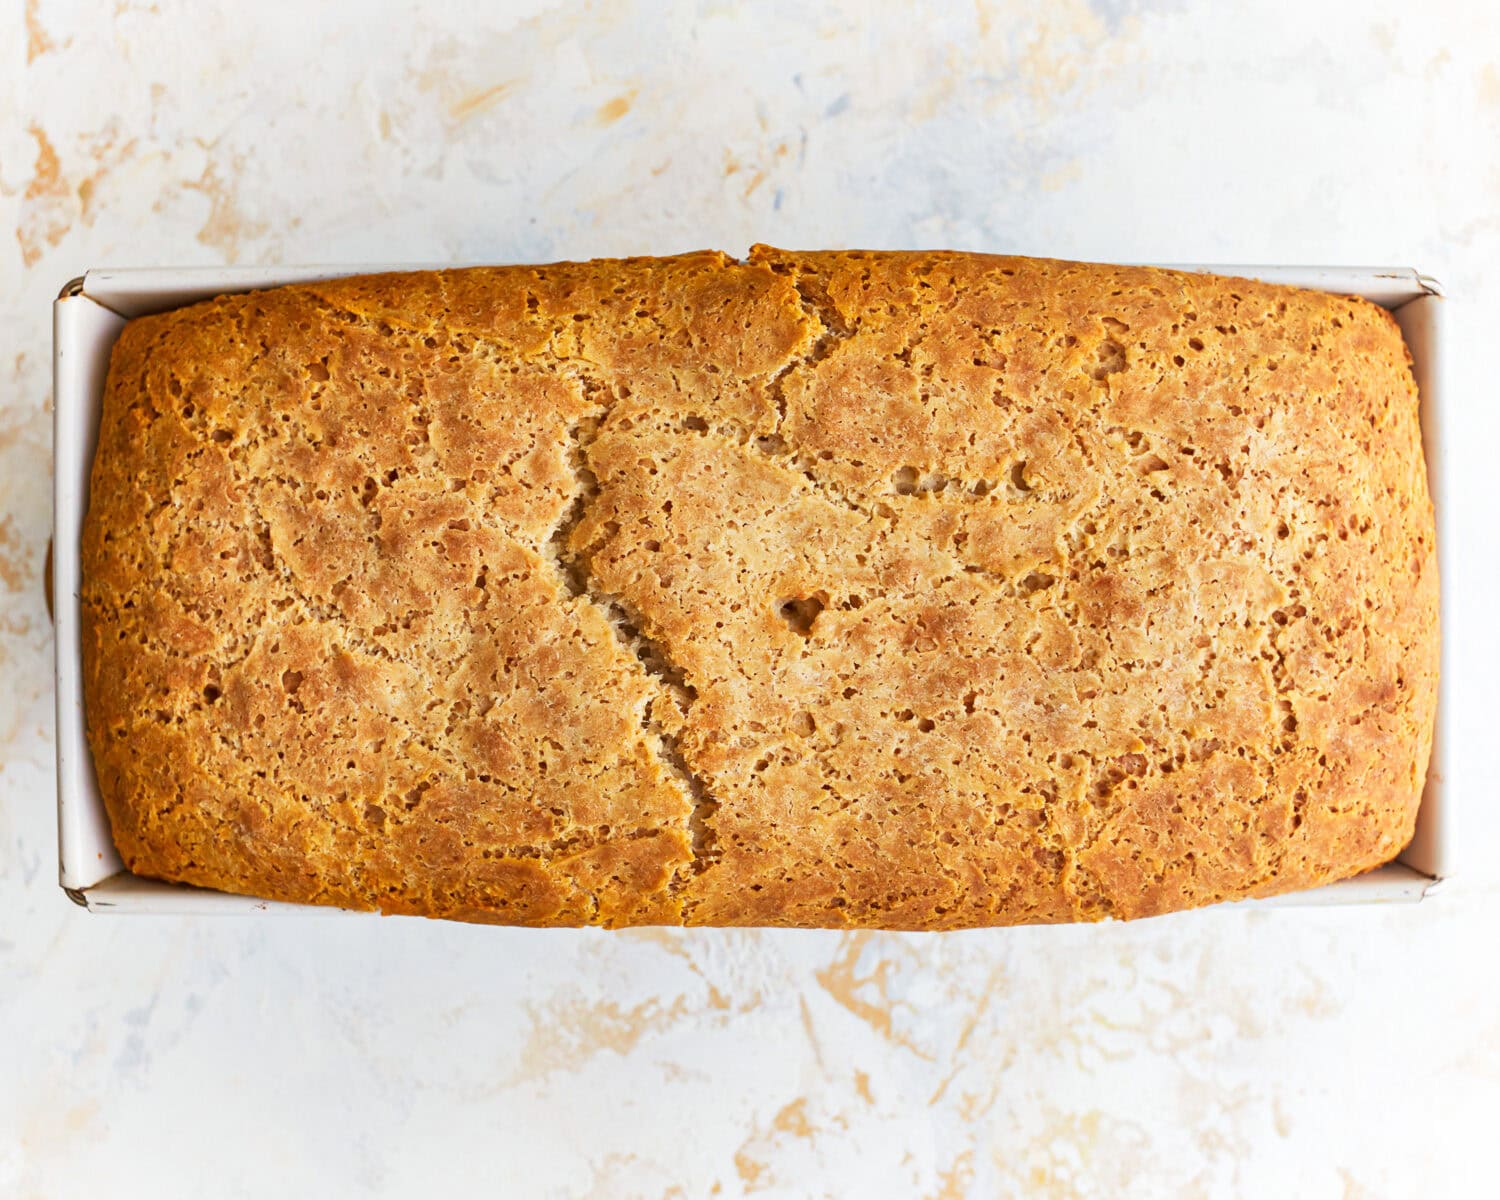
Once the rise time is complete, remove the plastic wrap or towel and place the pan in the preheated oven. Bake for 40-45 minutes or until the top is golden brown. I like to tap the bottom of the loaf – if it sounds hollow, it’s done!
Let your gluten-free potato bread cool in the pan for 5-10 minutes before removing and placing on a wire rack to finish cooling before slicing.


can vegetable oil be substituted with evoo?
Sure, but it may change the flavor!
Can this potato bread be made in a bread machine?
Hi Ruth, we have not tried making this bread in a bread machine, but it should work!
Have you tried mashed sweet potatoes with this recipe?
Do you really preheat the oven for 45 minutes before baking?
Hi Dana, no, we have not tried with sweet potatoes. They have a slightly different moisture and sugar content than regular potatoes, so we can’t predict what the results would be. We recommend preheating the oven for the full 45 minutes to ensure it is at the proper temperature so that the bread will hold its shape once baked.