This post may contain affiliate links. To learn more check my disclosure page.
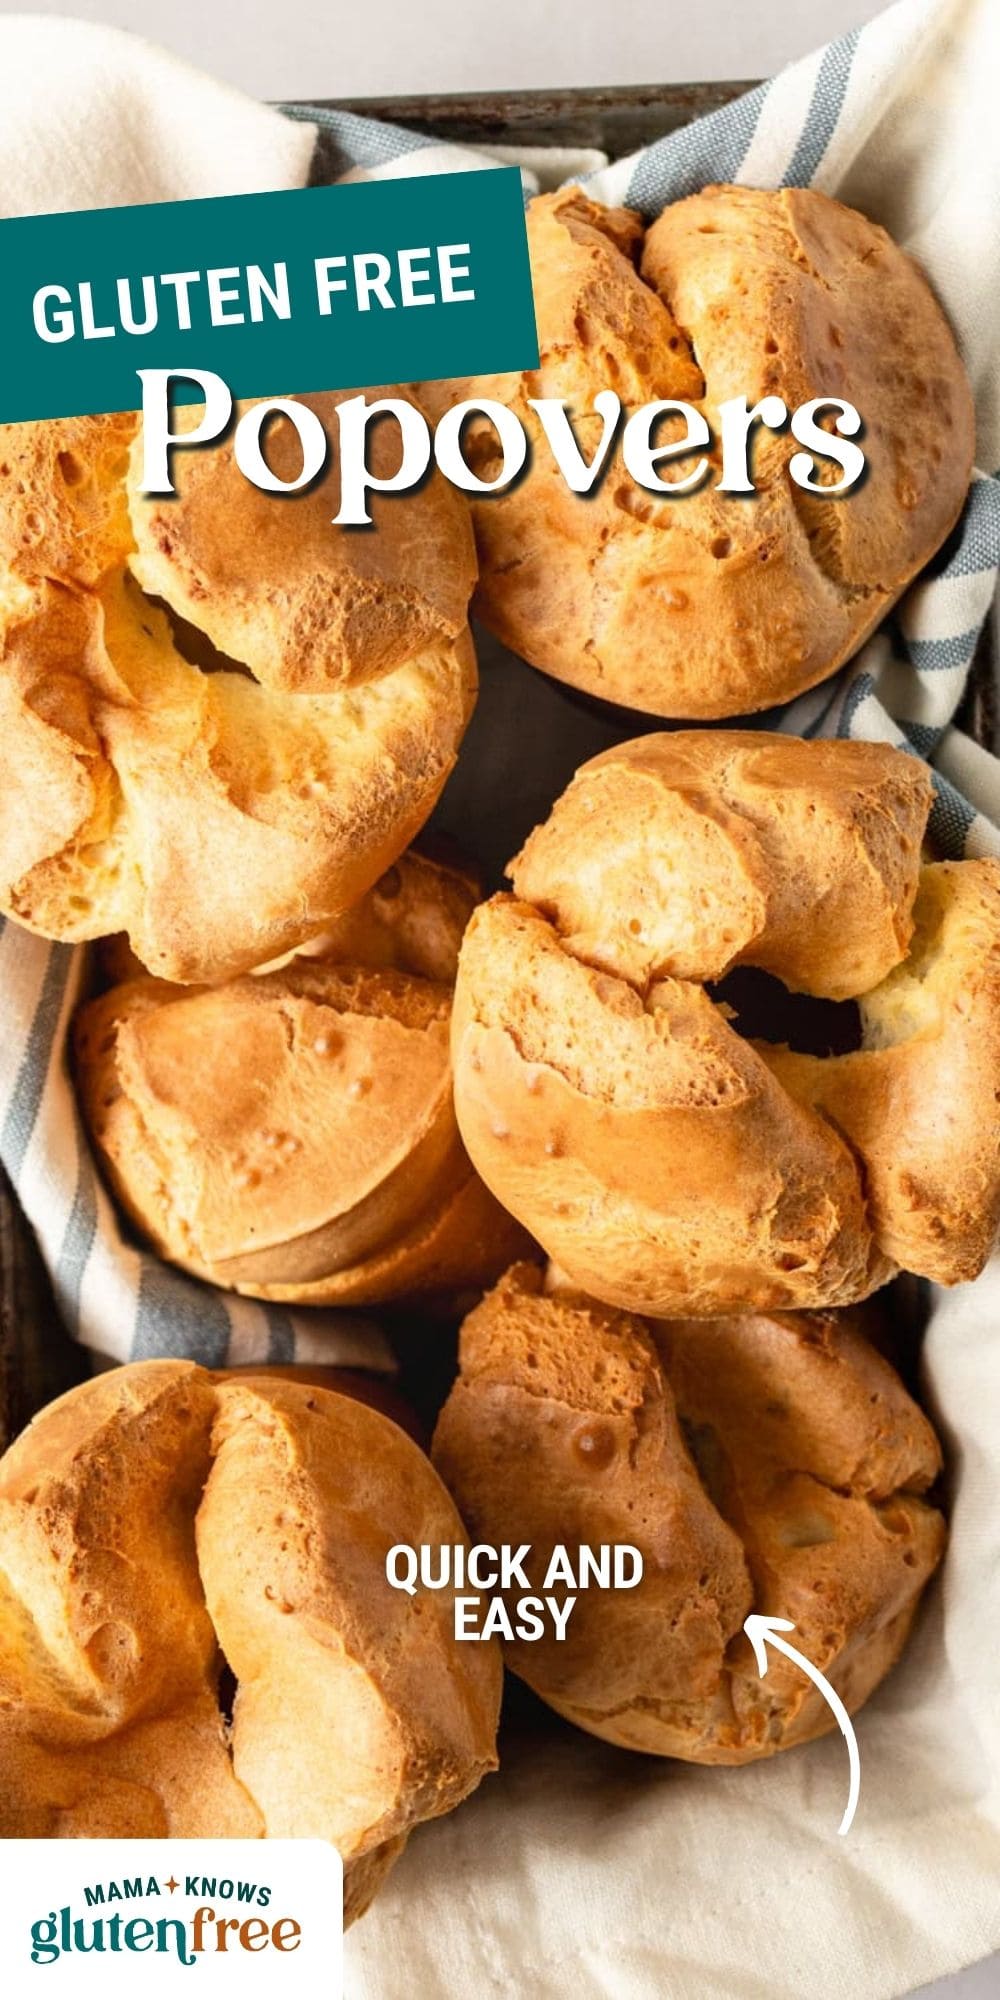
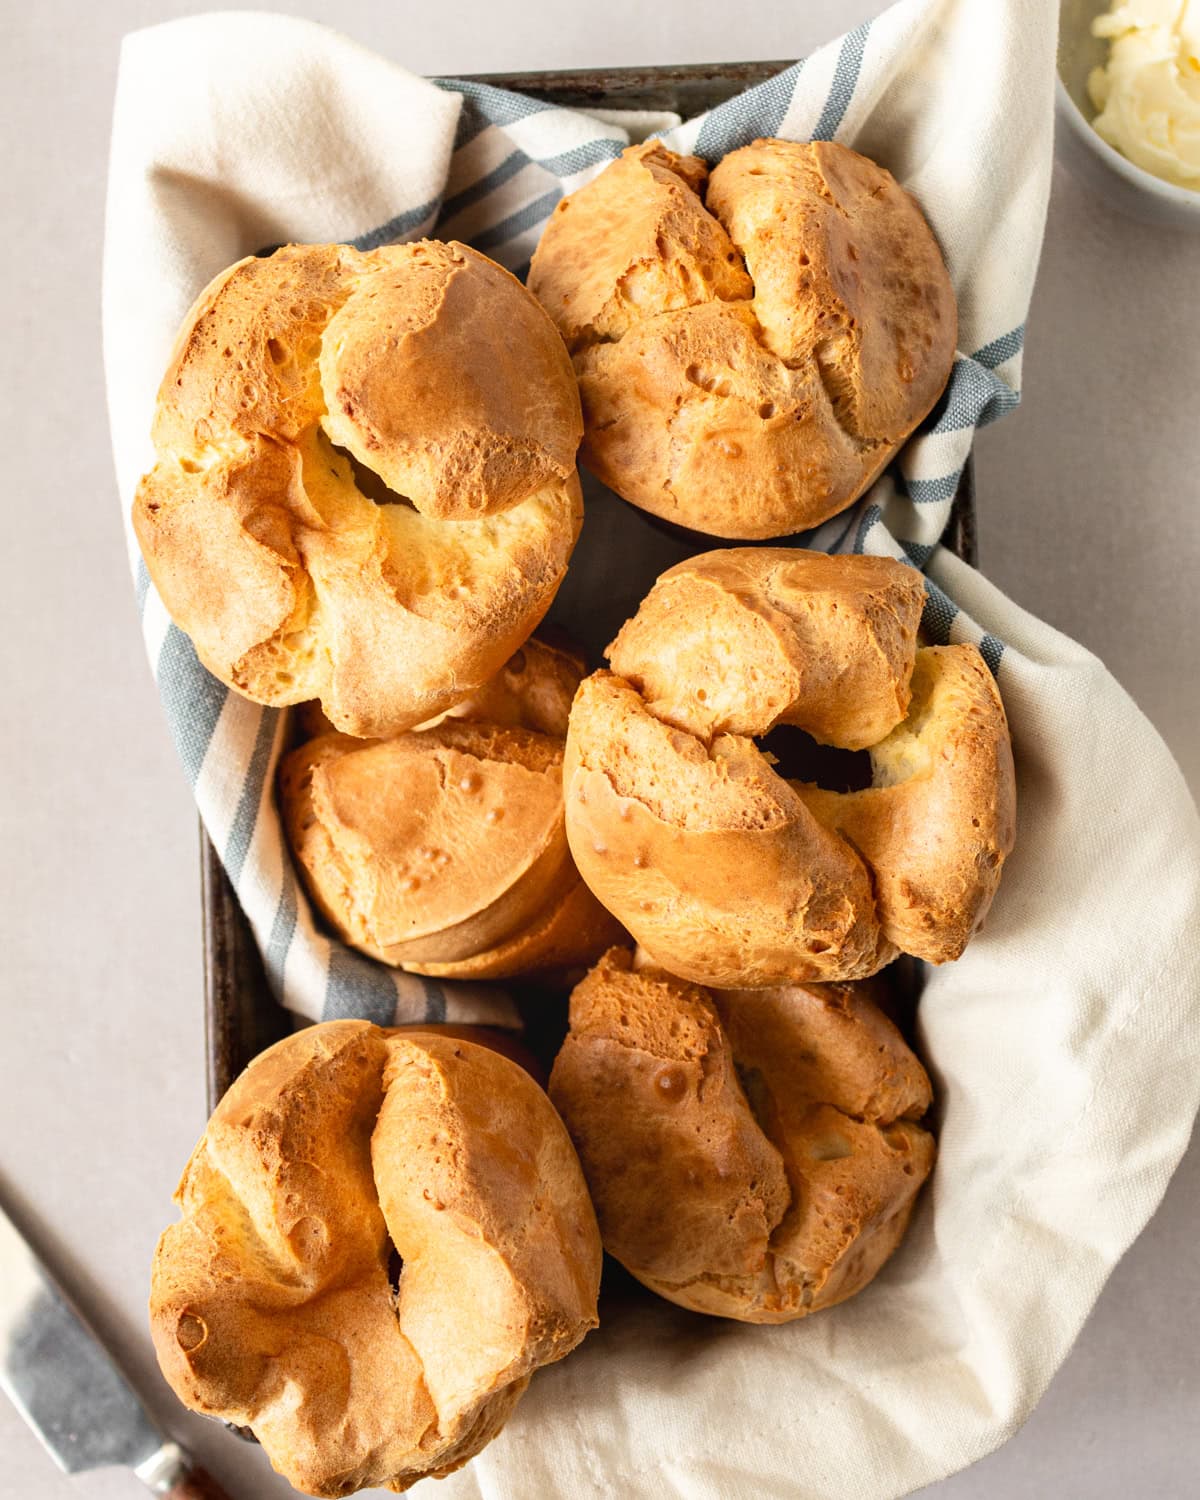
When I want to indulge in a light and airy treat, nothing beats a gluten-free popover. I love serving them for breakfast with butter and jam, but they’re also delicious as a side for a hearty stew! You only need 6 simple ingredients and less than an hour to make this easy recipe (and most of that time is hands-off!). They always turn out crisp with a buttery, eggy, and custardy center. Trust me, you won’t need another gluten-free popover recipe after trying this one!
Gluten-Free Popovers Recipe
Similar to our gluten-free Dutch baby, these popovers are made from gluten-free flour, milk, eggs, and butter. They’re almost identical to Yorkshire puddings, except they’re cooked in butter, not meat drippings or oil, and are traditionally made in a popover pan. I make mine with almond milk, but any milk (cow’s or dairy-free) works just as well! My secret to the best gluten-free popovers is to preheat the oven to a high temperature, then reduce the temperature mid-bake. This creates the perfect environment for them to rise and stay light and fluffy!
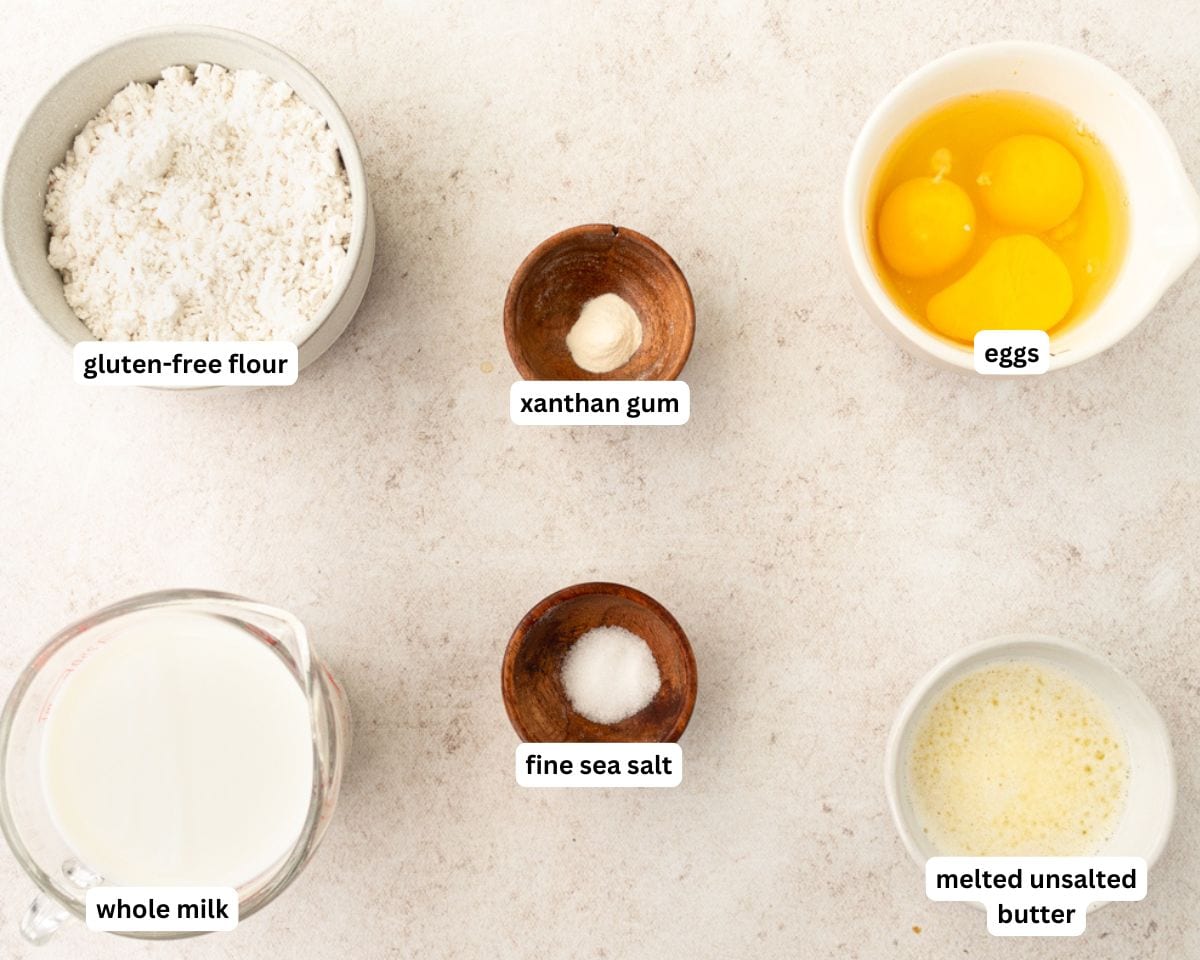
Ingredients
- Eggs: Helps your GF popovers rise and gives them a light and airy texture. Let them come to room temperature before mixing with the other ingredients.
- Whole Milk: Adds moisture and helps create steam, which is how your popovers puff up without yeast or baking powder! In testing, I found whole milk produces the best texture and golden-brown color. However, alternative milk can also be used. I almost always make mine with almond milk. Just expect the color to be slightly less golden! Whatever milk you use, it should be at room temperature.
- Gluten-Free Flour: Use a 1:1 all-purpose gluten-free flour blend that includes xanthan gum.
- Unsalted Butter: Melt your butter and let it cool before using. We don’t want to add hot butter to the batter as it might cook the eggs prematurely. You’ll also need some butter to grease your popover pan.
- Fine Sea Salt: Enhances the overall flavor.
- Xanthan Gum: Add some extra xanthan gum to the batter to help hold everything together.
Tips and Suggestions
- Some recipes require you to preheat the popover pan before adding the batter, but that’s not necessary for this recipe!
- I like using a blender to make the batter. If you have one, give it a try! It’s quick and easy and stops any lumps from forming (which is common when mixing gluten-free flour with liquid). If you don’t have a blender, use an electric mixer or whisk by hand. Just be careful not to overmix the batter.
- It’s best to use the spoon & level method when measuring your gluten-free flour. Spoon the flour into your measuring cups and level it off with a knife. This stops you from accidentally using too much flour.
- Fill each popover cup approximately ⅔ of the way full. This allows room for them to puff up without overflowing.
- I recommend poking a little hole in the top of each popover once they come out of the oven. This releases all the built-up steam and stops them from getting soggy.
- Another trick to avoid soggy popovers is to remove them from the pan immediately after baking!
- Make sure each popover cup is well-greased before adding the batter. I like using a basting brush to make sure each cup is coated with butter. This prevents sticking and helps create a crispy crust.
Do I Need to Use a Popover Pan?
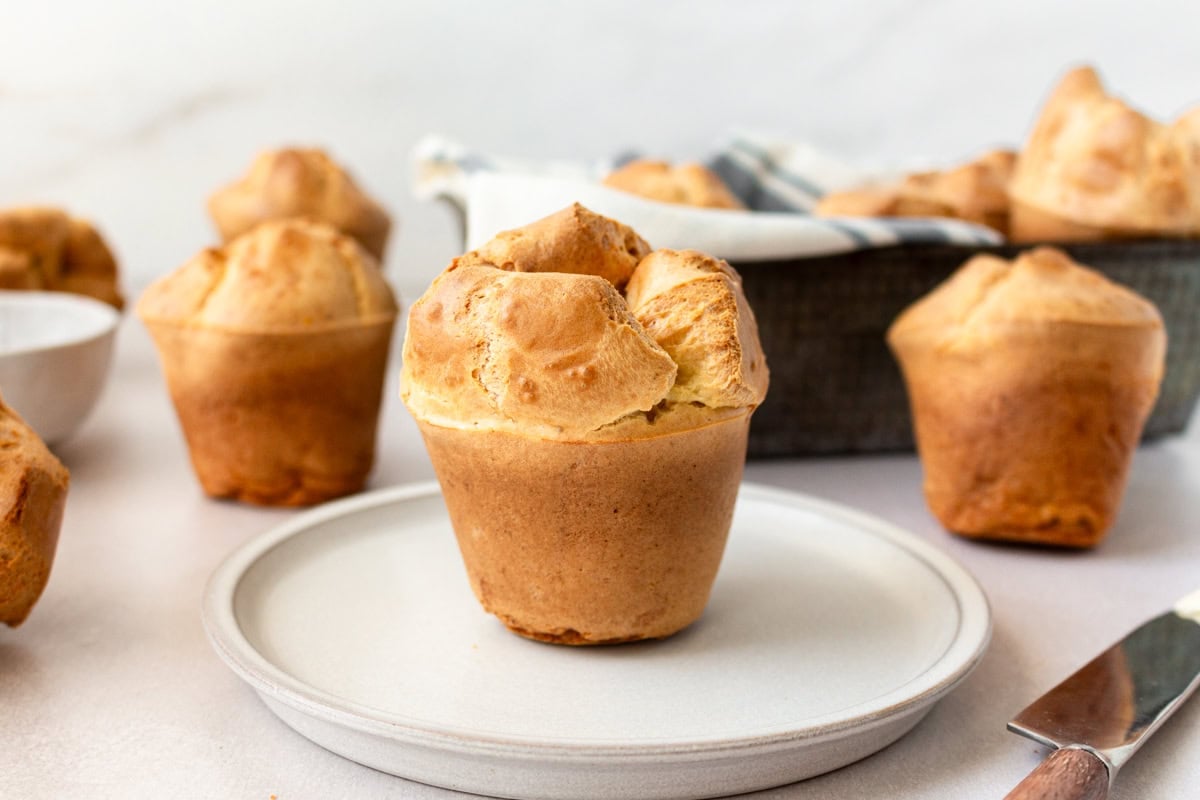
Nope! While using a popover pan helps your gluten-free popovers to rise tall, you can also use a regular muffin tin. Just make sure they’re well greased and fill them ⅔ of the way full with batter.
Why Didn’t My Gluten-Free Popovers Rise?
Popovers, whether gluten-free or not, rely on steam to rise. This recipe has no yeast or baking powder, so this is the only way they’ll get that signature puffy, hollow center. Here are some things to keep in mind while making this recipe:
- Make sure your oven is preheated to 425F before baking. Bake at this temperature for 25 minutes, then reduce the temperature to 350F. Baking at a higher temperature for the first 25 minutes helps create more steam!
- Your milk and eggs must be at room temperature before making the batter. Also, your butter should be melted and then cooled. Room-temperature ingredients will heat up quicker than cold ingredients, thus creating more steam to help with the rise.
- Opening the oven door during baking can release too much heat and steam, which will deflate your popovers. Avoid opening the oven door, if possible!
Serving Suggestions
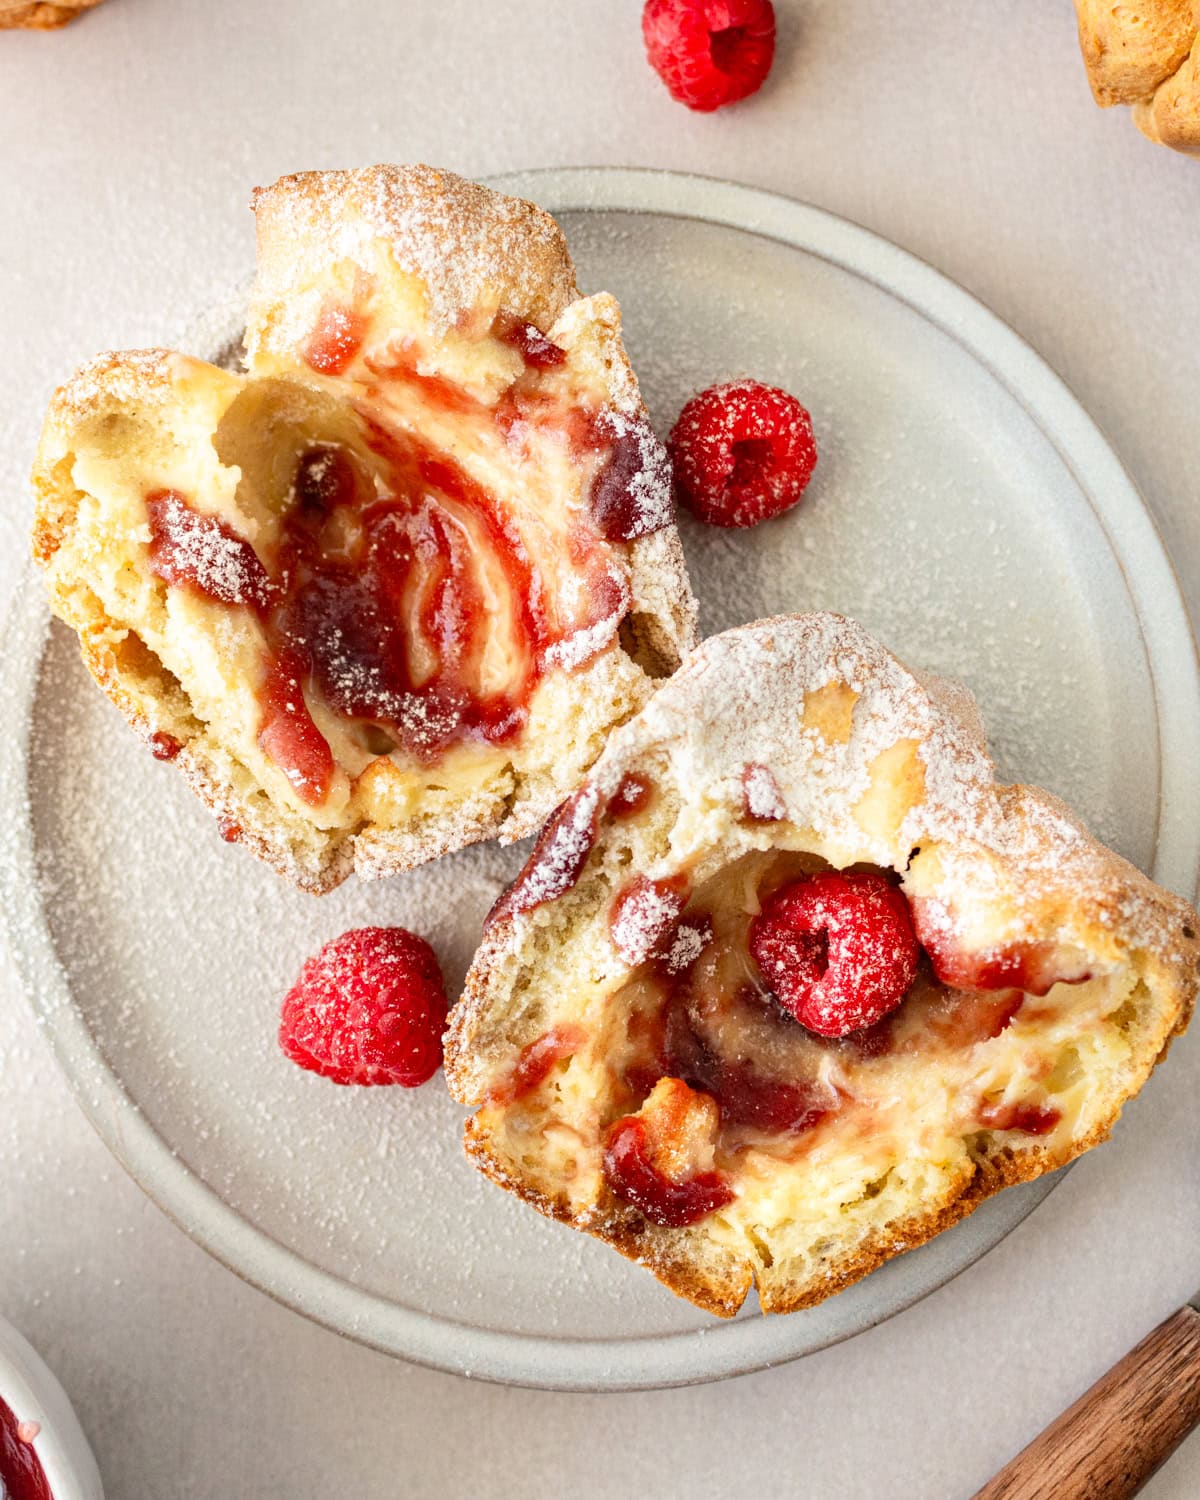
Gluten-free popovers are really interesting because they can be served as a sweet or savory dish. The mostly hollow, buttery insides are almost custard-like, similar to gluten-free French toast, but they’re also a fun alternative to gluten-free dinner rolls for a family dinner. Here are a few serving suggestions I’ve tried and loved:
- Butter, jam, raspberries, and a dusting of powdered sugar—my kids’ favorite!
- With gluten-free beef stew and mashed potatoes
- Butter, maple syrup, and a sprinkle of cinnamon
- Covered in gluten-free gravy!
Storage Instructions
This recipe is best eaten the day they’re made, but they can be stored in an airtight container in the refrigerator for 3-4 days. Reheat them in a 350F oven for 10 minutes to crisp them back up. Cover with foil if you don’t want them to brown any further. You can also freeze this recipe for gluten-free popovers for up to 2 months. Let them thaw in the refrigerator overnight before reheating.
More Gluten-Free Side Dish Recipes to Try!
- Gluten-Free Buttermilk Biscuits
- Gluten-Free Flatbread
- Gluten-Free Pita Bread
- Gluten-Free Garlic Bread
Gluten-Free Popovers Recipe

Ingredients
- 1 cup gluten-free all-purpose flour, use a 1:1 flour blend
- ¾ teaspoon fine sea salt
- ¼ teaspoon xanthan gum
- 3 large eggs, room temperature
- 1 cup whole milk, room temperature
- 3 tablespoons unsalted butter (plus extra for greasing the pan), melted and cooled
Instructions
- Grease a 6-cavity standard popover pan with butter. Preheat the oven to 425F.
- In a small bowl, whisk together the gluten-free flour, salt, and xanthan gum.
- In a blender, combine the eggs, milk, and melted unsalted butter. Blend to combine for 10 seconds. Add the flour mixture and blend for 10-15 seconds, until everything is well blended, and no lumps remain.
- Divide the batter into the greased pan cavities, filling each ⅔ full. Bake for 25 minutes at 425F. Without opening the oven, reduce the temperature to 350F and bake for an additional 15 minutes.
- Remove the pan from the oven and poke the top of each popover with a small knife or skewer to release the steam. Serve hot.
Notes
- You can use an alternative milk, like almond milk, if desired.
- Use the spoon & level method to measure your gluten-free flour. Spoon the flour into your measuring cups and level it off with a knife.
- To Store: Refrigerate in an airtight container for up to 3-4 days.
- To Freeze: Store in a freezer-safe container for up to 2 months. Let thaw in the refrigerator overnight before reheating.
- To Reheat: Warm in a 350F oven for 10 minutes. Cover with foil if you don’t want them to brown further.
- Mama says, “Check all of your labels.”
Nutrition
Nutrition information is automatically calculated, so should only be used as an approximation.
How to Make Gluten-Free Popovers Step-by-Step
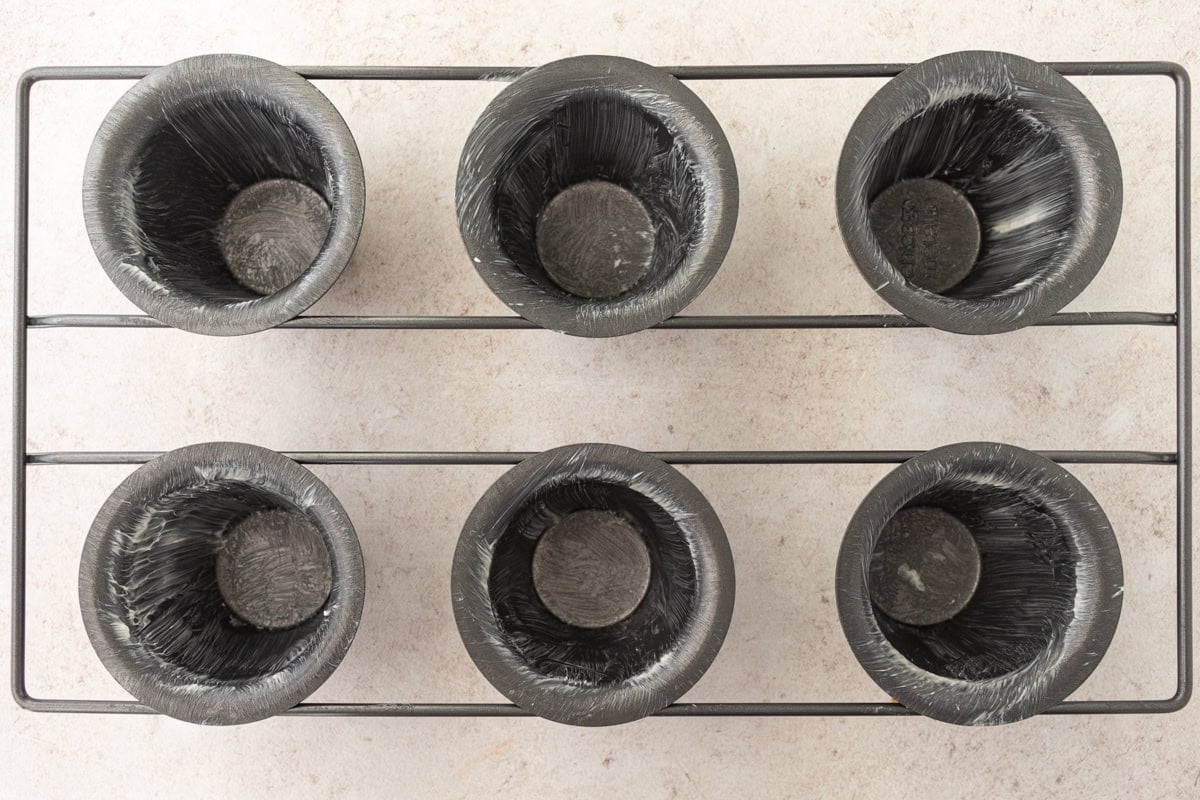
Grease a 6-cavity standard popover pan with butter. Preheat the oven to 425F.
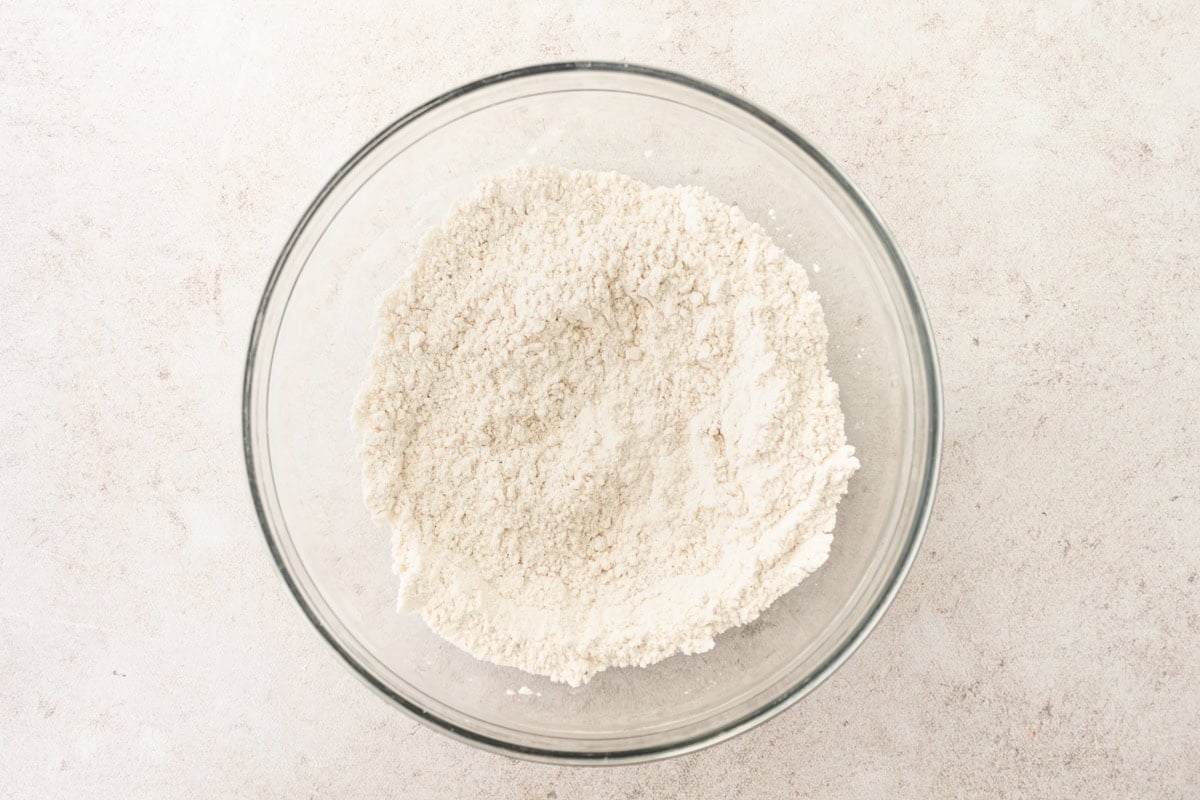
In a small bowl, whisk together 1 cup gluten-free flour, ¾ teaspoon salt, and ¼ teaspoon xanthan gum.
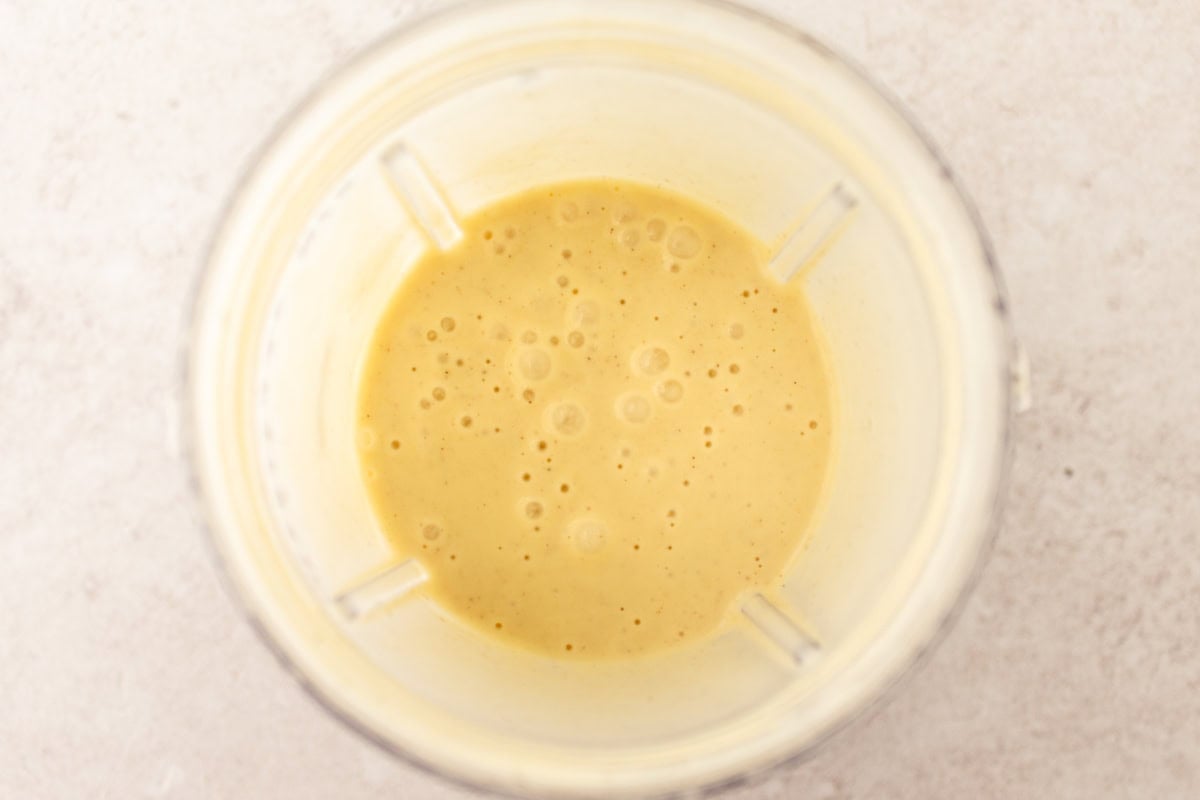
In a blender, combine 3 large eggs, 1 cup milk, and 3 tablespoons melted unsalted butter. Blend to combine for 10 seconds. Add the flour mixture and blend for 10-15 seconds, until everything is well blended, and no lumps remain.
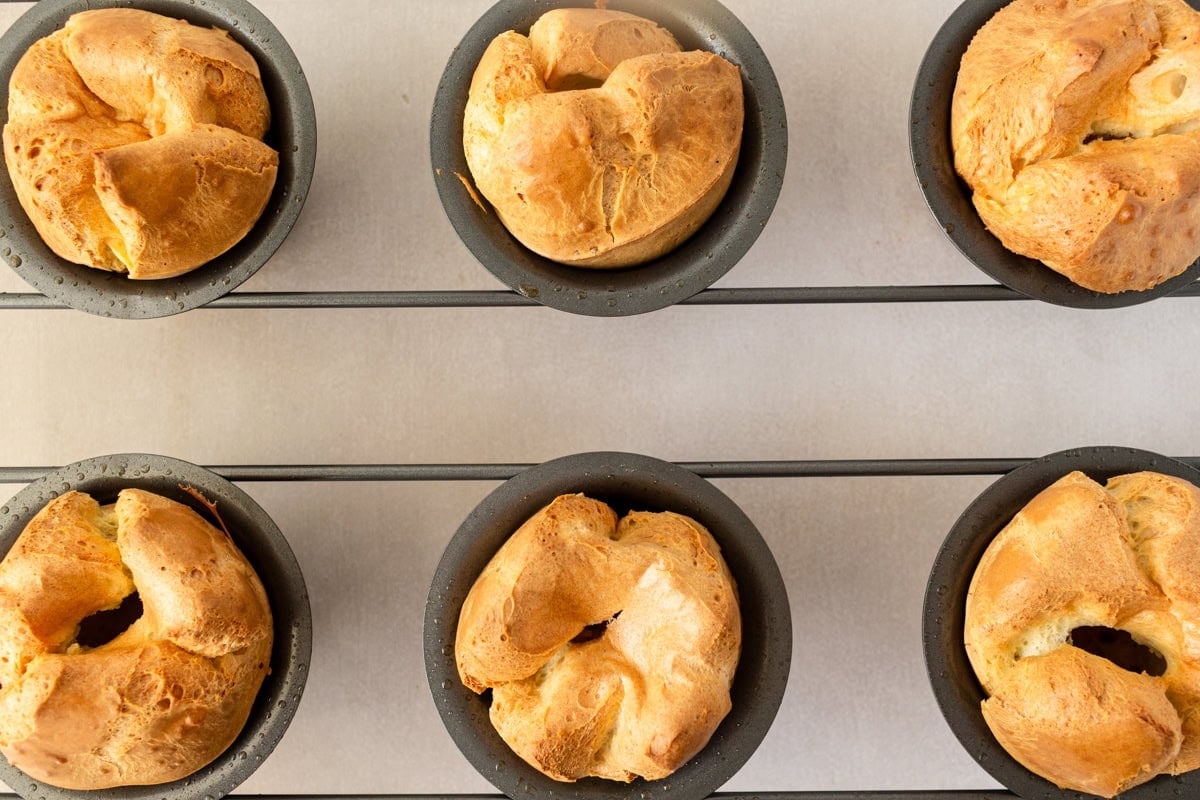
Divide the batter into the greased pan cavities, filling each ⅔ full. Bake for 25 minutes at 425F. Without opening the oven, reduce the temperature to 350F and bake for an additional 15 minutes. Remove the pan from the oven and poke the top of each popover with a small knife or skewer to release the steam. Serve hot.
