Gluten-Free Hot Dog Buns
Published


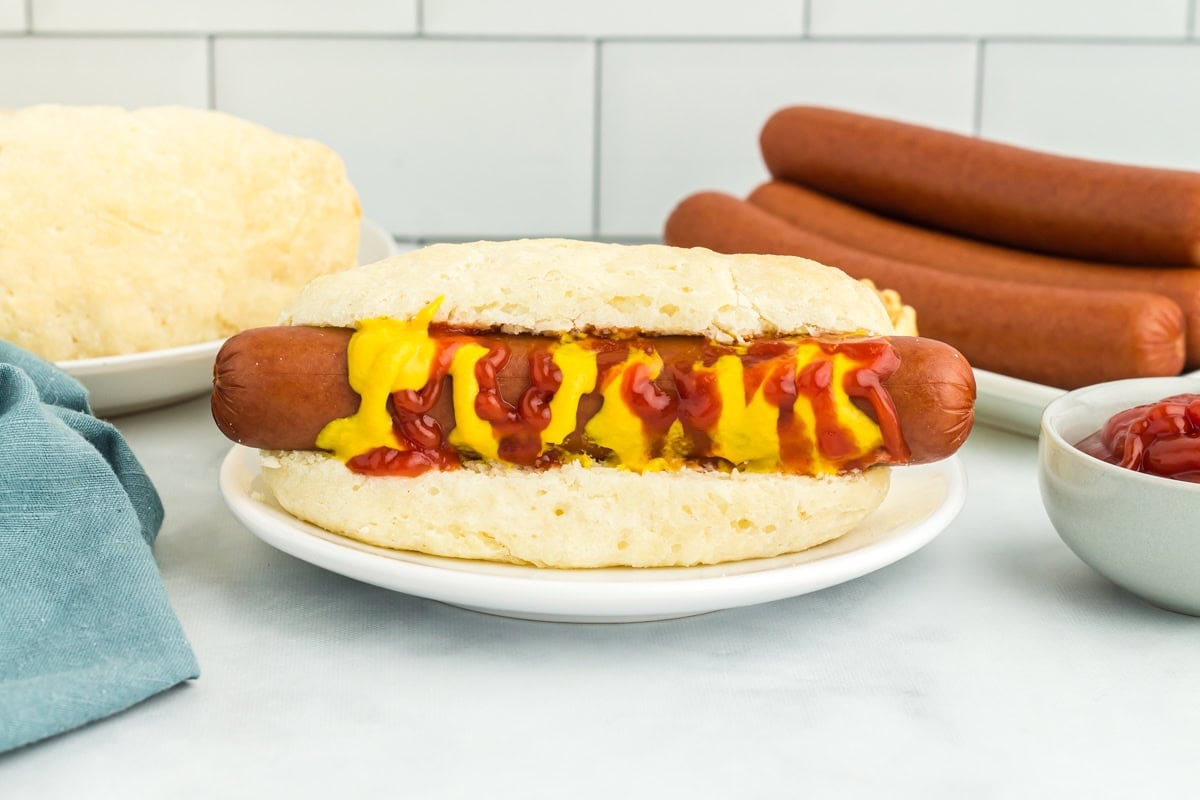
I have such a hard time finding good quality, flavorful gluten-free hot dog buns at the store these days, so I decided to make my own recipe. This gluten-free hot dog bun recipe is surprisingly quick to make (it takes less than an hour!) and produces fluffy, light, and delicious buns that are perfect for grilling season!
Gluten-Free Hot Dog Buns Recipe
I love how simple it is to make tasty, ultra-fluffy homemade hot dog buns right at home with this easy gluten-free hot dog buns recipe. These buns can easily be made dairy-free to accommodate a wide variety of dietary needs, too, so everyone can join in on the BBQ fun! And whether you love hot dogs or hamburgers, no one will go hungry with my gluten-free hamburger buns recipe, too!
Ingredients
- Gluten-Free All-Purpose Flour with xanthan gum: Not all gluten-free flour blends are recommended for yeast baking. You may experience different baking results depending on the gluten-free flour blend you choose. I recommend Pillsbury or Better Batter.
- Tapioca Flour: Helps bind and thicken the dough and encourages rich browning to create a shiny crust.
- Granulated Sugar: Feeds the yeast so the buns can rise and become light and fluffy.
- Quick Rise Instant Yeast: Helps the buns rise to become light and fluffy.
- Salt: Improves the flavor of the dough.
- Milk: Adds moisture to the dough to help it come together. Make sure the milk is warm (100-110°F) so that it encourages the yeast to become active.
- Butter: Adds richness and flavor to the dough and helps create a brown crust.
- Egg: Enriches the dough and adds additional moisture and structure to the buns.

Tips and Suggestions
- Measure the flour using the spoon-and-level method. Too much flour will cause the dough to be too dry and it won’t stick together properly. Too little flour will leave the dough too sticky to work with.
- Be sure to use instant quick rise yeast, not active yeast. These two types of yeast do not work the same.
- Too cold of milk and the yeast won’t activate properly. Too hot of milk and it may kill the yeast.
- Do not sprinkle extra flour on your work surface to prevent dough from sticking. Too much flour will lead to the dough not coming together properly and the buns will crack when baking.
- If the dough is sticking to your hands, spray your hands very lightly with non-stick cooking spray or a small amount of olive oil. Again, not too much or you’ll add to much oil to the dough.
- If you can’t find Cup4Cup Multipurpose Flour Blend, some say that gfJules All-Purpose Flour works well for bun recipes as well.
- Don’t leave the buns to rise in a hot location or in direct sunlight. Too much heat will kill the yeast or will lead to over proofing and your buns won’t rise properly.
- The amount of time your buns need to rise will vary based on the temperature and humidity in your home. Buns will rise faster in a warmer home or during the summer months. Start checking the buns at about 20 minutes. You’re looking for a slight rise (buns about 50% larger than they started). Anything more than this will be too much rise and the buns won’t bake up with a nice fluffy texture or hold the bun shape.
Can I Make These Gluten-Free Hot Dog Buns Dairy-Free?
Sure! Use your favorite dairy-free milk and butter instead of conventional dairy options!

What Can I Use Instead of Tapioca Flour?
If you can’t find tapioca flour, the next best substitute is superfine sweet rice flour (also known as glutinous rice flour). It has a lot of similar qualities to tapioca flour, but the results will not be exactly the same.
Can I Use Active Dry Yeast?
If you plan to use active dry yeast, you will need to use 25% more (so 1¼ tablespoons instead of 1 tablespoon) and you will need to give the yeast time to activate in the warm milk before adding it to the dough. The dough will likely take closer to an hour to double in size as well.
Storage Instructions
Store leftover gluten-free hot dog buns in an airtight container at room temperature for up to 3 days. For longer storage, you can individually wrap and freeze the buns for up to 3 months. Let them thaw overnight in the refrigerator before using them.
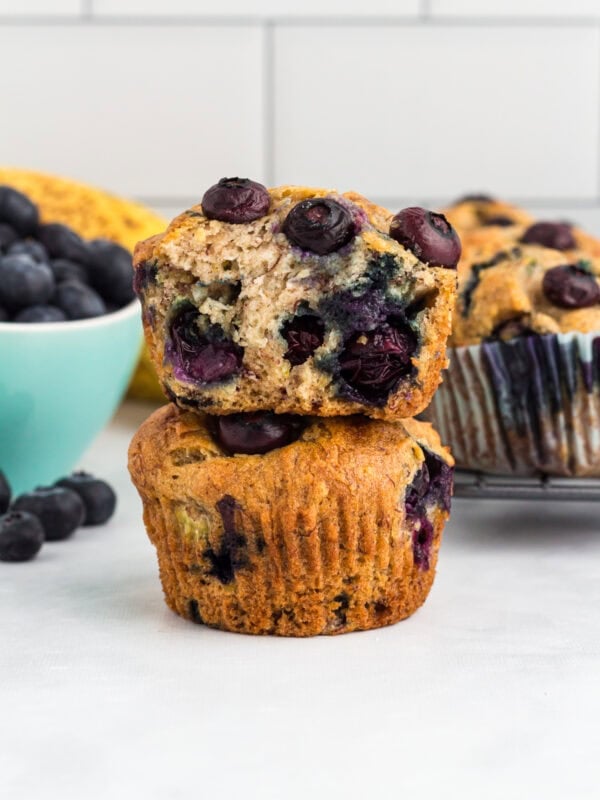
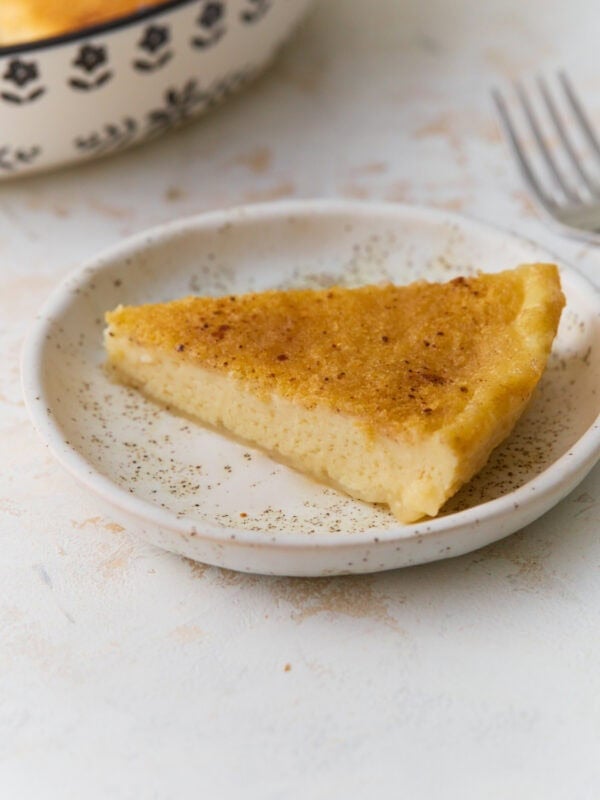
More Gluten-Free Bread Recipes to Try!
- Gluten-Free Bread
- Gluten-Free Bread Machine Bread
- Gluten-Free Sourdough Bread
- Gluten-Free Naan Bread
- Gluten-Free Dinner Rolls
- Gluten-Free Focaccia
Gluten-Free Hot Dog Buns

Ingredients
- 2¾ cups gluten-free all-purpose flour with xanthan gum, see note
- ¼ cup tapioca flour
- 2 tablespoons granulated sugar
- 1 tablespoon quick rise instant yeast
- ½ teaspoon salt
- 1 cup warm milk, 100-110°F (43-46°C)
- 6 tablespoons unsalted butter, melted, cooled, and divided (¼ cup + 2 tablespoons)
- 1 large egg, room temperature
Instructions
- Line a large baking sheet with parchment paper. Set aside for now.
- In a medium bowl, whisk together flour, tapioca flour, granulated sugar, yeast, and salt.
- Add the warm milk, ¼ cup of melted butter (keep the other 2 tablespoons of butter set aside for later) and egg to the dry ingredients.
- Using an electric mixer with a dough hook, mix the dough on low just until combined (1-2 minutes). Do not overmix.
- Use a spatula to mix in any dry ingredients that may have settled at the bottom of the bowl.
- Transfer the dough to a lightly oiled work surface (like a clean table or a silicone baking mat).
- Separate the dough into 6 equal parts (this is about 136 grams per bun).
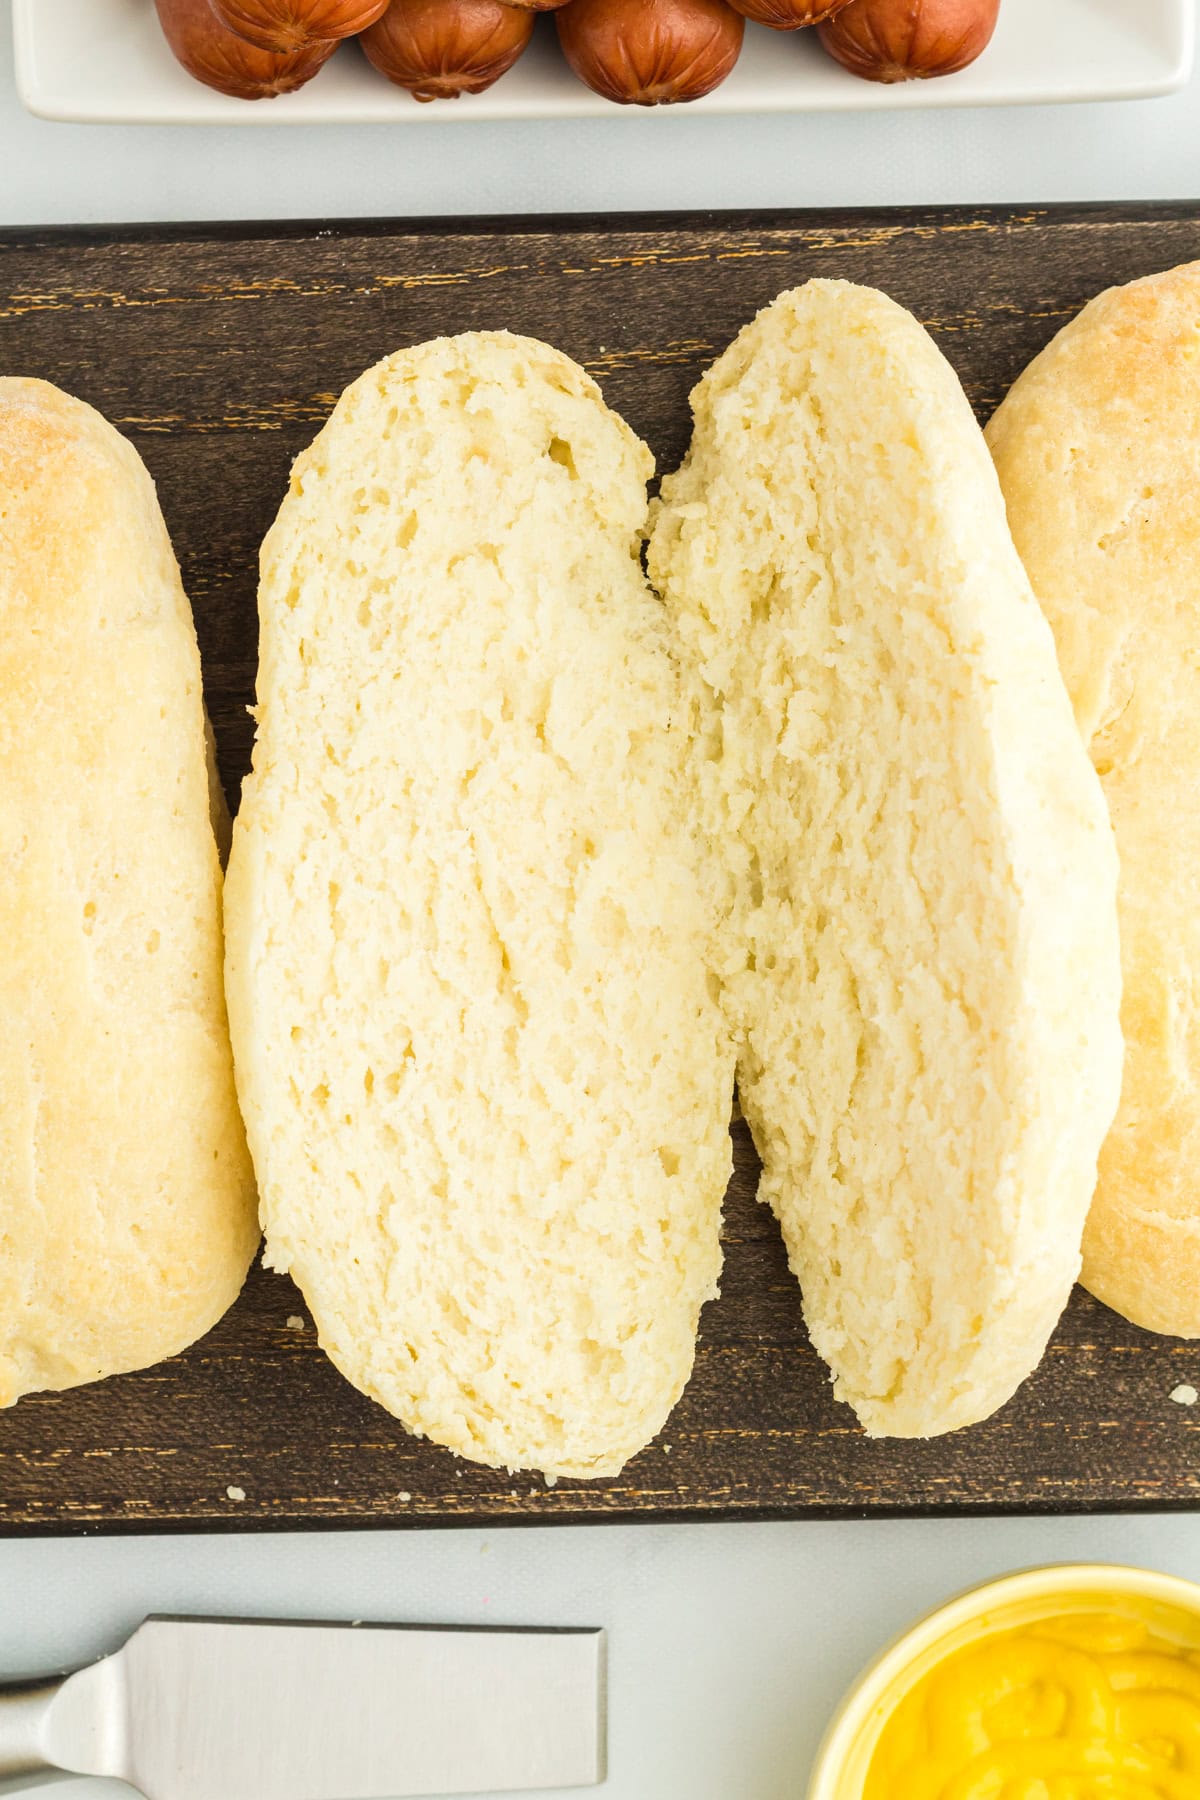
- With very lightly oiled hands, lightly knead and shape each dough ball into a cylinder hot dog bun shape. Pinch any seams together to close them then roll out until smooth. The buns should each be about 5 inches long.
- Place the shaped buns onto the prepared baking sheet and cover with food-safe plastic wrap.
- Let the buns sit covered at room temperature for 20 to 60 minutes to rise. They are ready for baking when they are about 50% larger than when you first rolled them out. Don’t let the dough rise too much or the buns won’t hold their shape and they won’t bake up soft. Start checking the rising dough after 20 minutes.
- Preheat the oven to 350°F (177°C).
- Use the remaining 2 tablespoons of melted butter to lightly brush butter evenly over each bun.
- Place the tray of buns into the oven to bake for 20-22 minutes. Buns are done when they are just starting to brown on top and the internal temperature of each bun is at least 190°F.
- Let the buns cool before serving.
Notes
- Measure the flour using the spoon-and-level method. Too much flour will cause the dough to be too dry and it won’t stick together properly. Too little flour will leave the dough too sticky to work with.
- Be sure to use instant quick rise yeast, not active yeast. These two types of yeast do not work the same.
- Too cold of milk and the yeast won’t activate properly. Too hot of milk and it may kill the yeast.
- Do not sprinkle extra flour on your work surface to prevent dough from sticking. Too much flour will lead to the dough not coming together properly and the buns will crack when baking.
- If the dough is sticking to your hands, spray your hands very lightly with non-stick cooking spray or a small amount of olive oil. Again, not too much or you’ll add to much oil to the dough.
- Not all gluten-free flour blends are recommended for yeast baking. You may experience different baking results depending on the gluten-free flour blend you choose. I recommend Pillsbury or Better Batter.
- Don’t leave the buns to rise in a hot location or in direct sunlight. Too much heat will kill the yeast or will lead to over proofing and your buns won’t rise properly.
- The amount of time your buns need to rise will vary based on the temperature and humidity in your home. Buns will rise faster in a warmer home or during the summer months. Start checking the buns at about 20 minutes. You’re looking for a slight rise (buns about 50% larger than they started). Anything more than this will be too much rise and the buns won’t bake up with a nice fluffy texture or hold the bun shape.
- To store: Store buns in a sealed food-safe container at room temperature for up to 3 days. Like most homemade breads and buns, these are best eaten fresh.
- To freeze: Wrap buns individually in plastic wrap and place in a large zippered bag to store for up to 3 months.
Nutrition
Nutrition information is automatically calculated, so should only be used as an approximation.
How to Make Gluten-Free Hot Dog Buns Step-by-Step

Line a large baking sheet with parchment paper. Set aside for now.
In a medium bowl, whisk together 2¾ cups flour, ¼ cup tapioca flour, 2 tablespoons granulated sugar, 1 tablespoon yeast, and ½ teaspoon salt.

Add 1 cup warm milk, ¼ cup of melted butter (keep the other 2 tablespoons of butter set aside for later) and 1 large egg to the dry ingredients.
Using an electric mixer with a dough hook, mix the dough on low just until combined (1-2 minutes). Do not overmix. Use a spatula to mix in any dry ingredients that may have settled at the bottom of the bowl.

Transfer the dough to a lightly oiled work surface (like a clean table or a silicone baking mat).

Separate the dough into 6 equal parts (this is about 136 grams per bun).

With very lightly oiled hands, lightly knead and shape each dough ball into a cylinder hot dog bun shape. Pinch any seams together to close them then roll out until smooth. The buns should each be about 5 inches long.
Place the shaped buns onto the prepared baking sheet and cover with food-safe plastic wrap.

Let the buns sit covered at room temperature for 20 to 60 minutes to rise. They are ready for baking when they are about 50% larger than when you first rolled them out. Don’t let the dough rise too much or the buns won’t hold their shape and they won’t bake up soft. Start checking the rising dough after 20 minutes.

Preheat the oven to 350°F. Use the remaining 2 tablespoons of melted butter to lightly brush butter evenly over each bun.

Place the tray of buns into the oven to bake for 20-22 minutes. Buns are done when they are just starting to brown on top and the internal temperature of each bun is at least 190°F. Let the buns cool before serving.


I followed the instructions as written, warm milk with the fast acting yeast. Formed the dough, and the buns rose to about 50% bigger. Brushed the oil on the top and popped them in the oven. They did not expand further in the oven. The tops did not brown. They look like super dense bread cylinders. Is it because they didn’t have baking powder in the dough? I made your oven bread yesterday, and it was fabulous. It rose and baked so well. But these were just a miss for me, unfortunately. Thank you for putting your recipes online though. I appreciate it a lot
Hi Meredith, it sounds like your kitchen may be hotter than ours was during testing, and they may have overproofed. They should get most of their rise in the oven!
can this recipe be made to make hamburger buns?
Hi Benjamin, we recommend following our gluten-free hamburger buns recipe (click here!) for the best results.