This post may contain affiliate links. To learn more check my disclosure page.
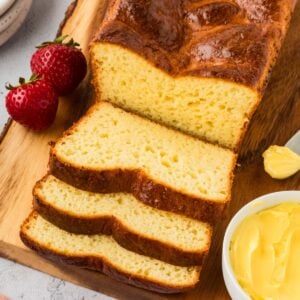
My simple gluten-free brioche recipe creates an indulgent loaf with a tender crumb and a shiny, golden crust! It’s much sweeter than our homemade gluten-free bread recipe, making it perfect for French toast or as a base for bread pudding. I love toasting a slice of this bakery-style bread and topping it with a drizzle of honey or jam—I can never have just one slice! This easy recipe is buttery, rich, and satisfying, and you’d never guess it was gluten-free.
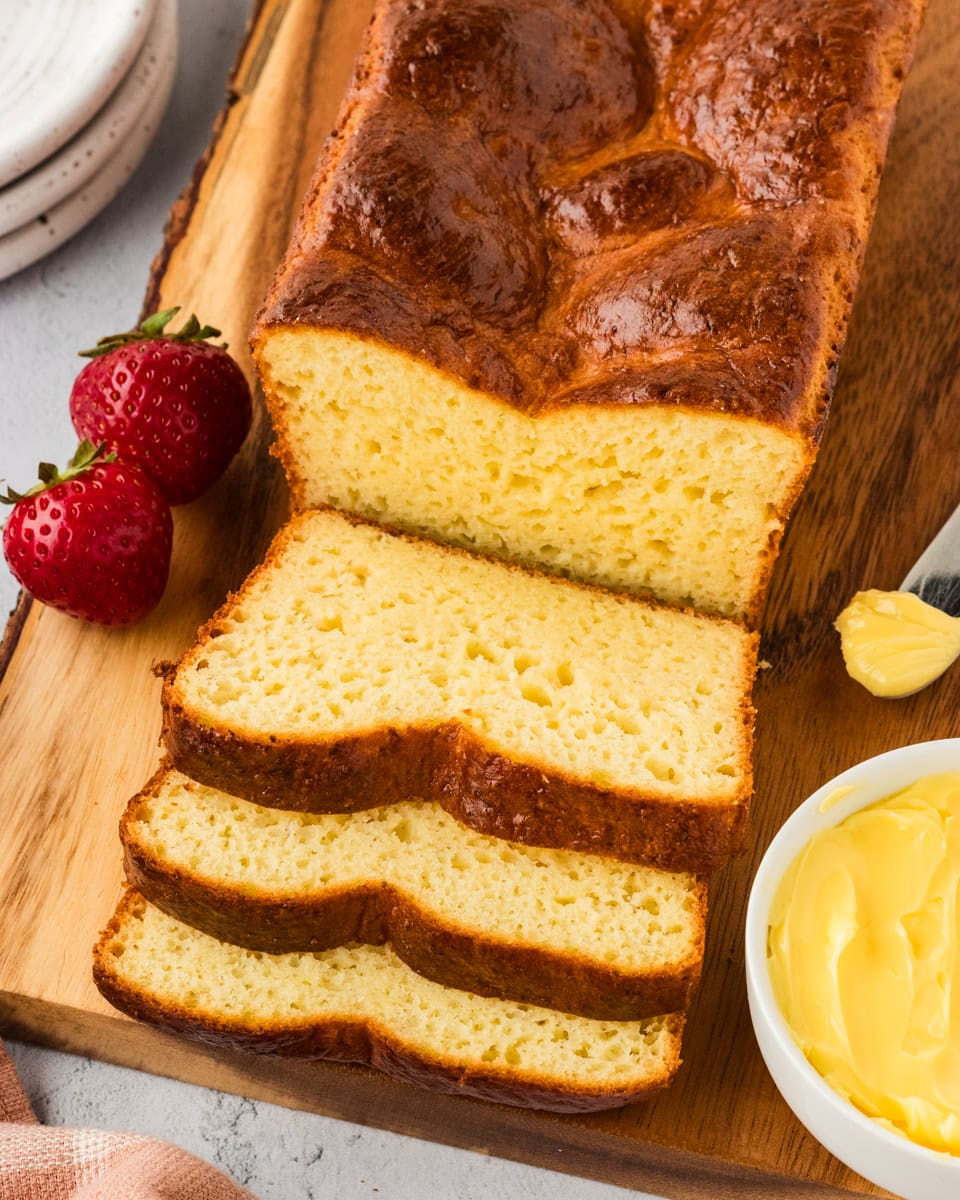
Homemade Gluten-Free Brioche
I can’t explain how much I missed brioche when I found out I had to go gluten-free. But after some experimenting in the kitchen, I managed to come up with a delicious gluten-free brioche recipe that satisfies all my cravings! This sweet bread originates from France and is made from an enriched dough with a high butter and egg content. I use gluten-free flour, psyllium husk powder, sugar, instant yeast, and, of course, plenty of butter and eggs to mimic the classic brioche flavor in this recipe. And it’s surprisingly easy to make at home!
Ingredients
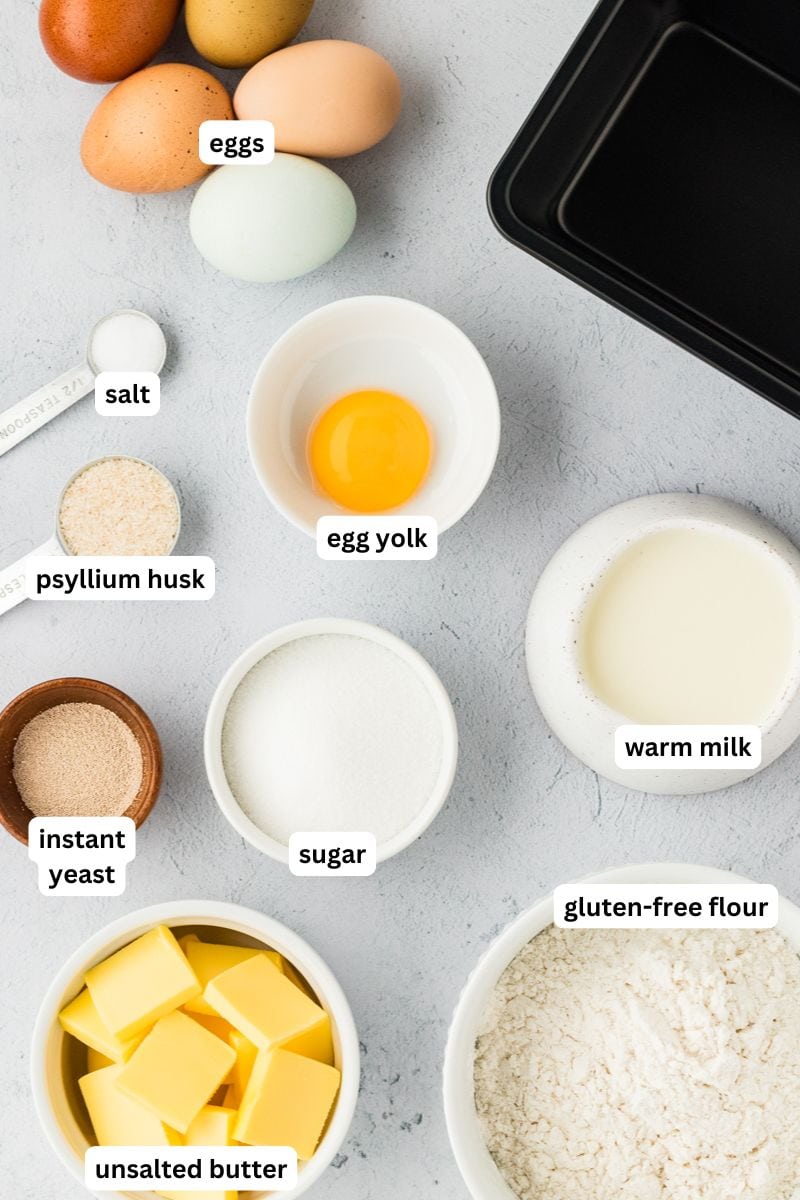
- Gluten-Free All-Purpose Flour with Xanthan Gum: I use Pillsbury gluten-free flour in this recipe. It’s one of the few gluten-free flours suitable for yeast baking and already has xanthan gum added. Not all gluten-free flours are created equally, and I cannot guarantee the same results with different flour blends. If you use a different brand, make sure it contains xanthan gum and is suitable for yeast baking. We generally recommend adding ¼ teaspoon of xanthan gum per cup of flour if your blend doesn’t contain it.
- Sugar: Adds sweetness and helps activate the yeast.
- Psyllium Husk Powder: This is an essential ingredient in gluten-free baking. It acts as a binder and gives structure to the bread, mimicking the properties of gluten.
- Instant Yeast: Make sure you use instant yeast, not active dry yeast. Instant yeast doesn’t need to be activated before using.
- Unsalted Butter: You’ll need 6 tablespoons of unsalted butter, cut into small ‘pads’ or slices. Make sure your butter is very soft before using it. It can’t be firm from the refrigerator, as it won’t mix well into the dough. I haven’t tried this recipe with dairy-free butter.
- Salt: Adds flavor and helps to balance the sweetness.
- Eggs: Like traditional recipes, this gluten-free brioche is made with lots of eggs! You’ll need 4 eggs plus an extra egg yolk. The eggs add richness and help the loaf turn a beautiful golden color. I don’t recommend substituting the eggs.
- Milk: You’ll need warm milk to activate the yeast and bring moisture to the dough. Microwave it or warm it on the stovetop until it’s warm but not too hot to touch. Around 95-100°F is ideal.
Tips and Suggestions
- Don’t worry if you forgot to get your butter out of the fridge in time. A quick trick is to microwave the sliced butter for 10 seconds, then flip and repeat until soft (but not melted). You can also place them into a ziploc bag and place the sealed bag into a bowl of warm water for a few minutes.
- I recommend using a stand mixer with a paddle attachment to really incorporate the eggs and butter into the dough. This is an enriched dough, meaning it has a higher fat content, which can make it difficult to mix by hand.
- Add your milk slowly when mixing the dough. Once it looks like a smooth cake batter, you can stop mixing. Overmixing can make the loaf dense and tough once baked. Please see my step-by-step photos below for a visual guide.
- I like to use a large cookie scoop to dollop the dough into my loaf pan. This helps recreate the uneven, rustic look of traditional bakery-style brioche.
- Your loaf is done when it’s a beautiful golden brown color and an inserted cake tester (or toothpick) comes out clean.
Why Didn’t My Gluten-Free Brioche Bread Rise?
There are two opportunities for your bread to rise in this recipe: the first is during the initial proofing stage, and the second is during baking. If your bread isn’t rising, double-check that your instant yeast is fresh and not expired. Also, make sure your milk is warm (not hot or cold), and your oven is set to the correct temperature. I also recommend being patient during the proofing stage and giving your dough enough time to rise. A warmer and humid environment will help with rising, so if your kitchen is on the cooler side, consider placing the dough in a warmer room to proof.
Why Did My Loaf Sink in the Middle?
This often happens from over-proofing the bread, which is when the dough is left for too long during the rising process. The reaction of the yeast inside the loaf creates air bubbles, which is a good thing until you get too much air, and then the loaf collapses from not being able to hold itself up anymore!
To prevent this from happening, keep a close eye on your loaf while it’s rising. You want it to almost reach the top of the loaf pan, but not any further; otherwise, you risk over-proofing it. You’ll know it’s over-proofed when the top becomes pockmarked and pitted. If this happens, simply deflate the dough, reshape it, and start the rising process again.
Serving Suggestions
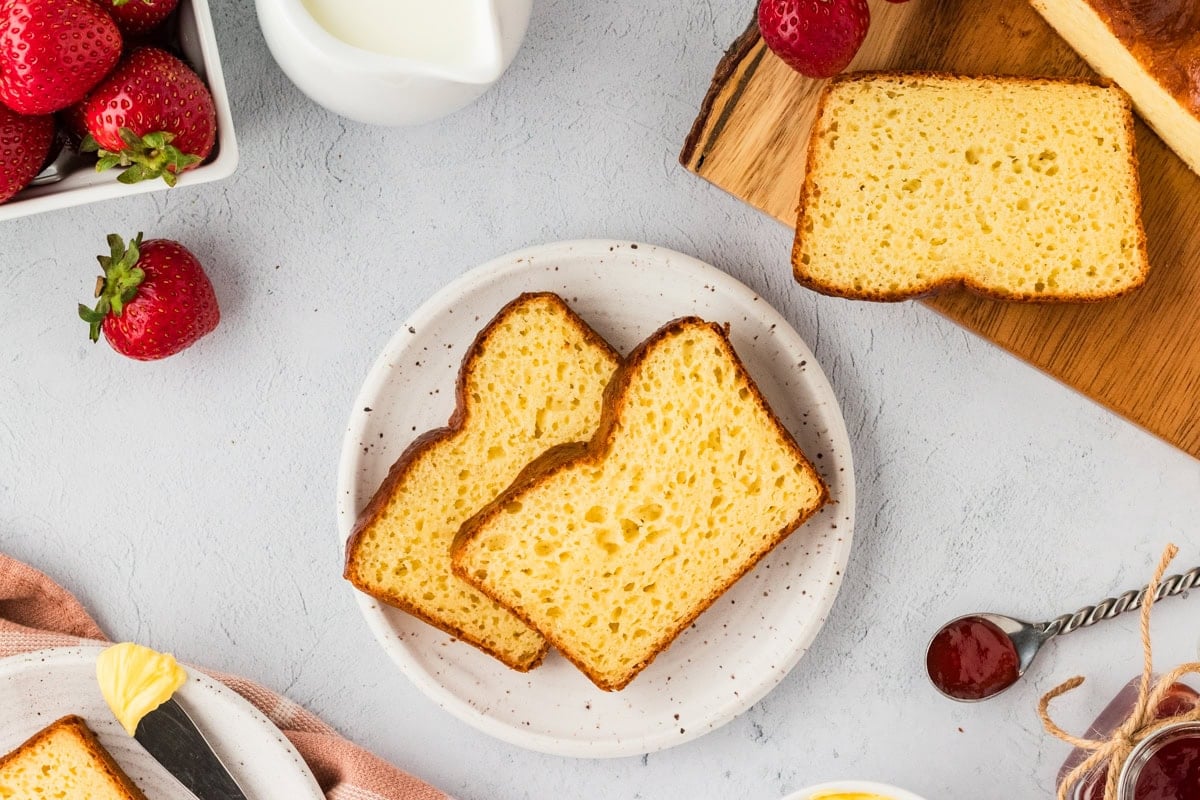
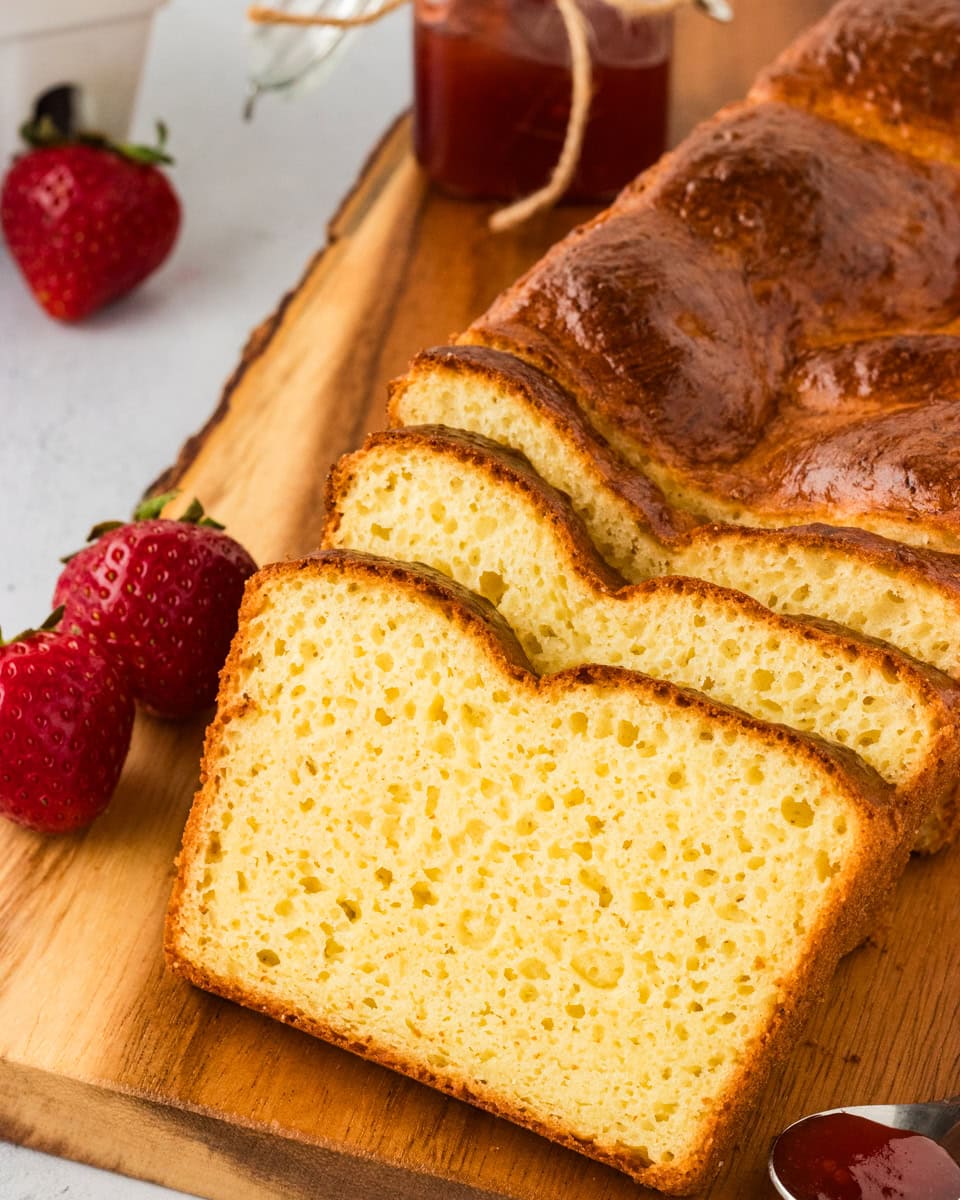
This gluten-free brioche bread is eggy and soft and also slightly sweet. I love using it to make gluten-free French toast, and while it might be a bit more delicate than regular bread because it’s gluten-free, it tastes incredible! Here are some other ways to use it:
- For sandwiches or toast with butter, jam, or honey.
- In our gluten-free pumpkin French toast casserole or cinnamon roll Fresh toast casserole.
- To make gluten-free bread pudding.
Storage Instructions
Once cooled, cut the loaf into slices and store it in an airtight container or bag at room temperature for up to 5 days. Or keep it for longer by storing it in the refrigerator for up to a week. You can even freeze slices of your gluten-free brioche for up to 3 months. Wrap them individually in plastic wrap to stop them from sticking to each other once frozen. Let the slices thaw at room temperature before serving.
More Gluten-Free Bread Recipes to Try!
- Gluten-Free Bread Machine Bread
- Gluten-Free Sourdough Bread
- Gluten-Free Potato Bread
- Gluten-Free Baguette
Gluten-Free Brioche Recipe
Ingredients
- 1 ⅓ cups gluten-free all-purpose flour blend with xanthan gum, I use Pillsbury Gluten-Free flour
- ¼ cup sugar
- ½ teaspoon salt
- 1 ½ teaspoon psyllium husk
- 1 packet instant yeast
- 6 tablespoons unsalted butter, very soft and cut into small pads, plus extra for greasing the loaf pan
- 4 eggs, divided
- 1 egg yolk
- ½ cup milk, warm (around 95°-110°F)
Instructions
- To the bowl of a stand mixer, add your gluten-free flour, sugar, salt, psyllium husk, and instant yeast. Whisk by hand until everything is mixed together.
- Fit your bowl onto the stand mixer with the paddle attachment and turn on low speed. Add in your softened unsalted butter cut into pads one at a time, then add 3 eggs and the extra egg yolk, also one at a time.
- Once mixed, slowly pour in your warm milk and allow the mixer to continue to stir gently until everything is incorporated.
- Mix on medium speed until your dough, which will resemble cake batter, looks smooth.
- Butter an 8 ½ x 4 ½ loaf pan. Use a large cookie scoop or spoon to scoop the batter into the loaf pan, creating lumps and valleys, which create that signature look on the top of brioche bread.
- Cover with plastic wrap and allow the bread to rise on the counter until it almost reaches the top of the loaf pan. The time will depend on many factors, such as temperature and humidity, but try 45 minutes to an hour first and then check on it in 10-minute intervals until it reaches the correct height. Mine took about an hour to rise.
- Preheat the oven to 350°F, and while it’s preheating, gently brush the top of your loaf with an egg wash made from the remaining egg.
- Bake your bread for 30 minutes, until a cake tester comes out clean, and allow it to rest and cool in the loaf pan for about 30 minutes before removing it.
- Allow the loaf to rest until cool, then cut and enjoy with butter, jam, honey, or all of the above!
Notes
- Make an egg wash by beating one egg and brushing it over the top of the loaf before baking.
- To Store: Store at room temperature for up to 5 days in an airtight container. It’ll stay fresher in the refrigerator for longer, up to 7 days.
- To Freeze: Wrap slices in plastic wrap and store in the freezer for up to 3 months. Defrost at room temperature.
- Mama says, “Check all of your labels!”
Nutrition
Nutrition information is automatically calculated, so should only be used as an approximation.
How to Make Gluten-Free Brioche Step-by-Step
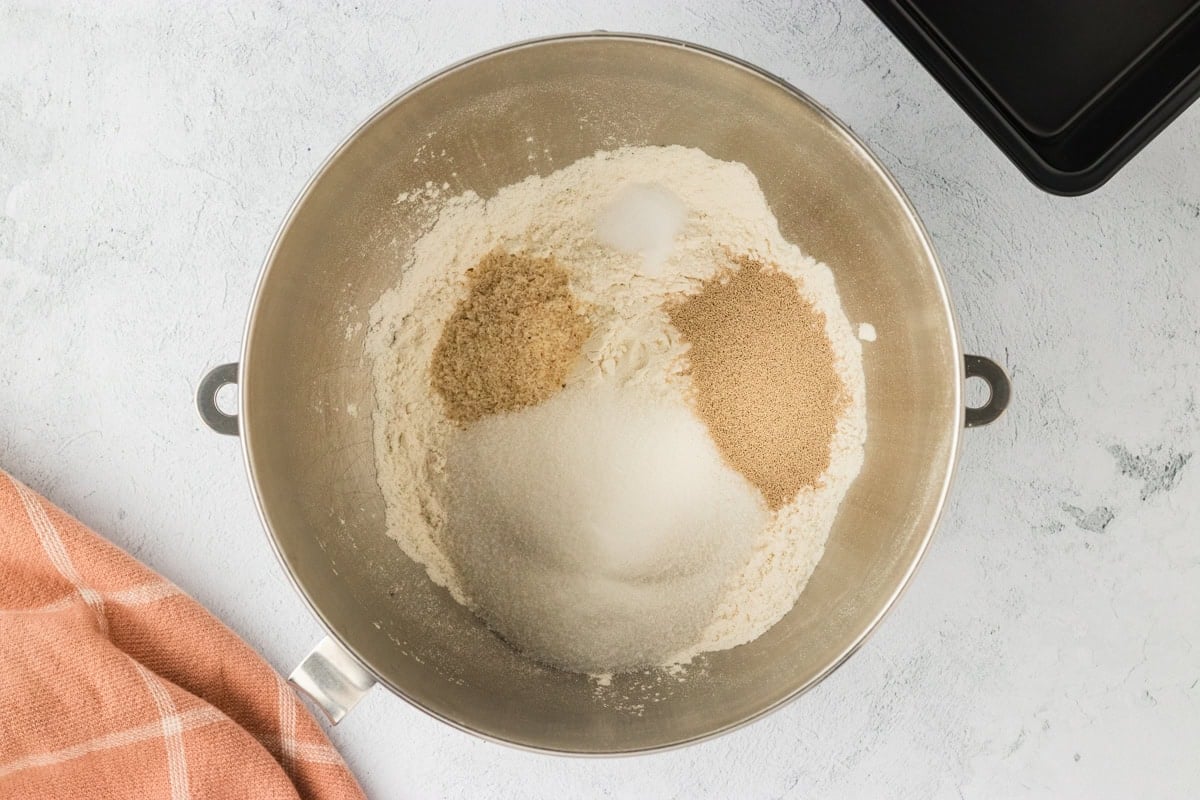
To the bowl of a stand mixer, add 1 ⅓ cups gluten-free flour, ¼ cup sugar, ½ teaspoon salt, 1 ½ teaspoon psyllium husk, and 1 packet of instant yeast.
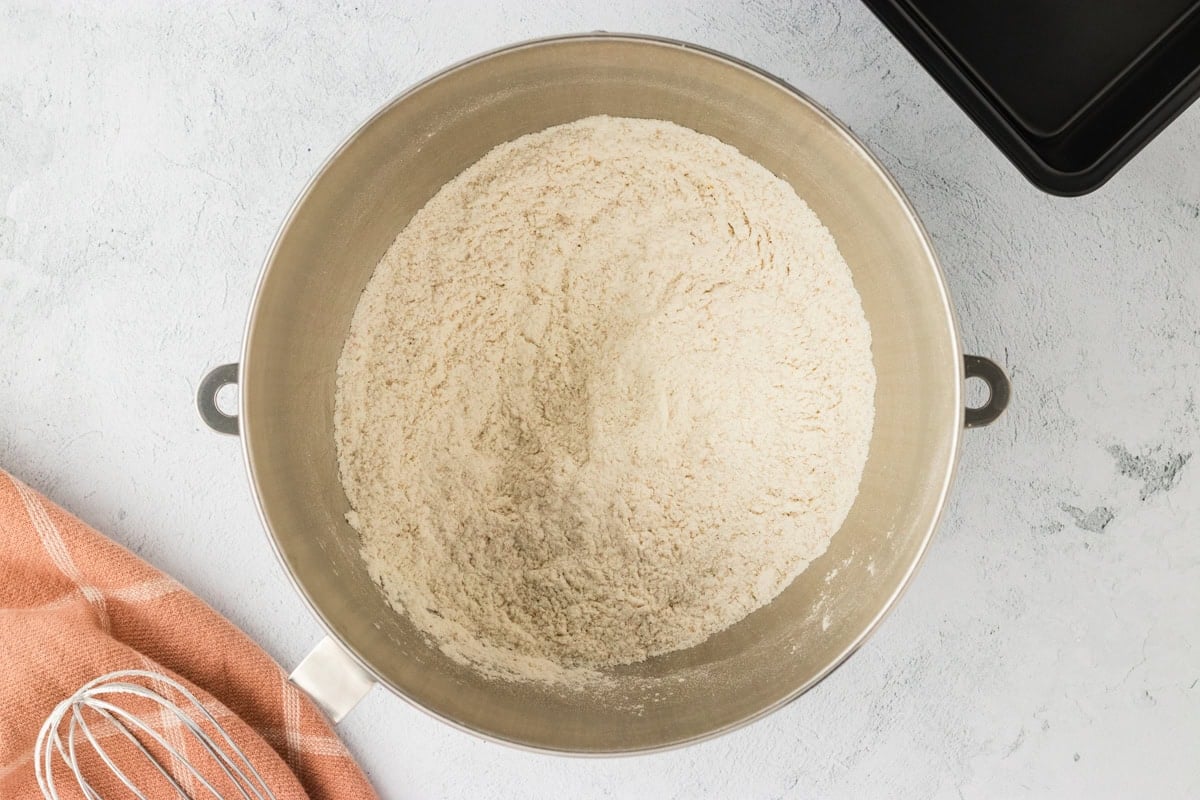
Whisk by hand until everything is mixed together.
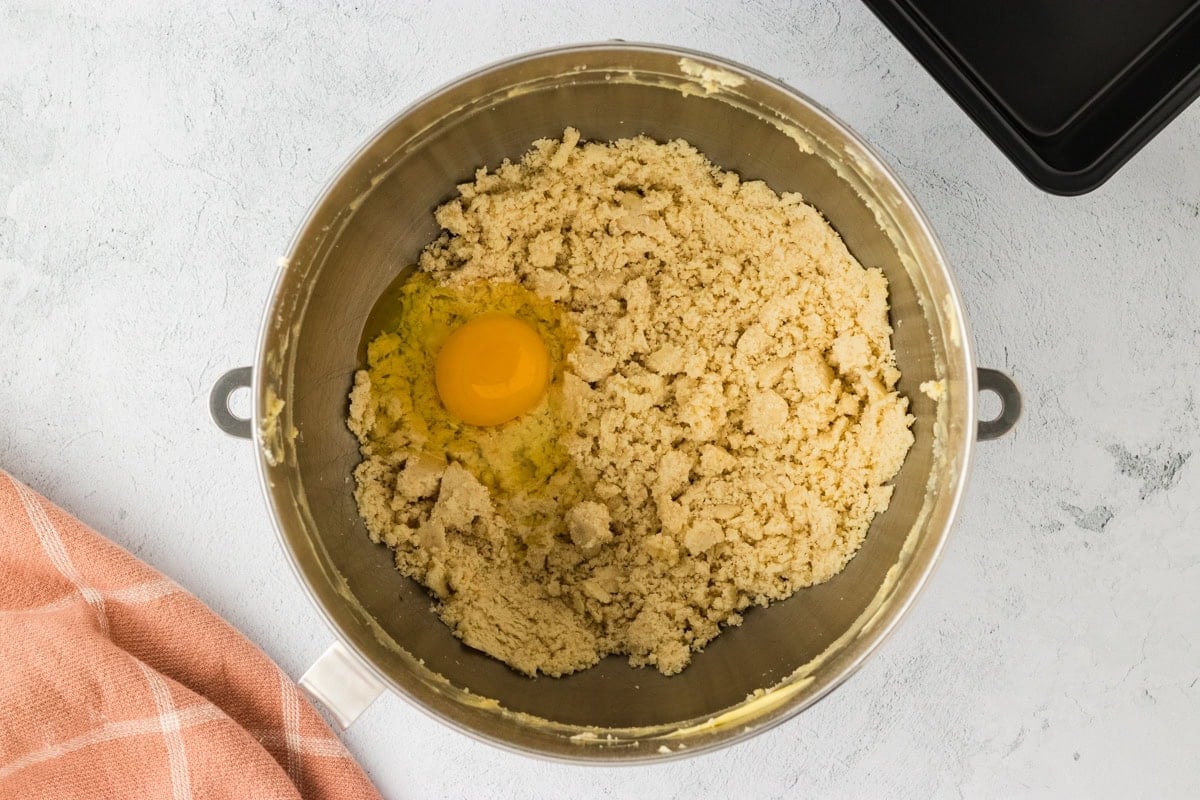
Fit your bowl onto the stand mixer with the paddle attachment and turn on low speed. Add in 6 tablespoons softened unsalted butter cut into pads one at a time, then add 3 eggs and 1 extra egg yolk, also one at a time.
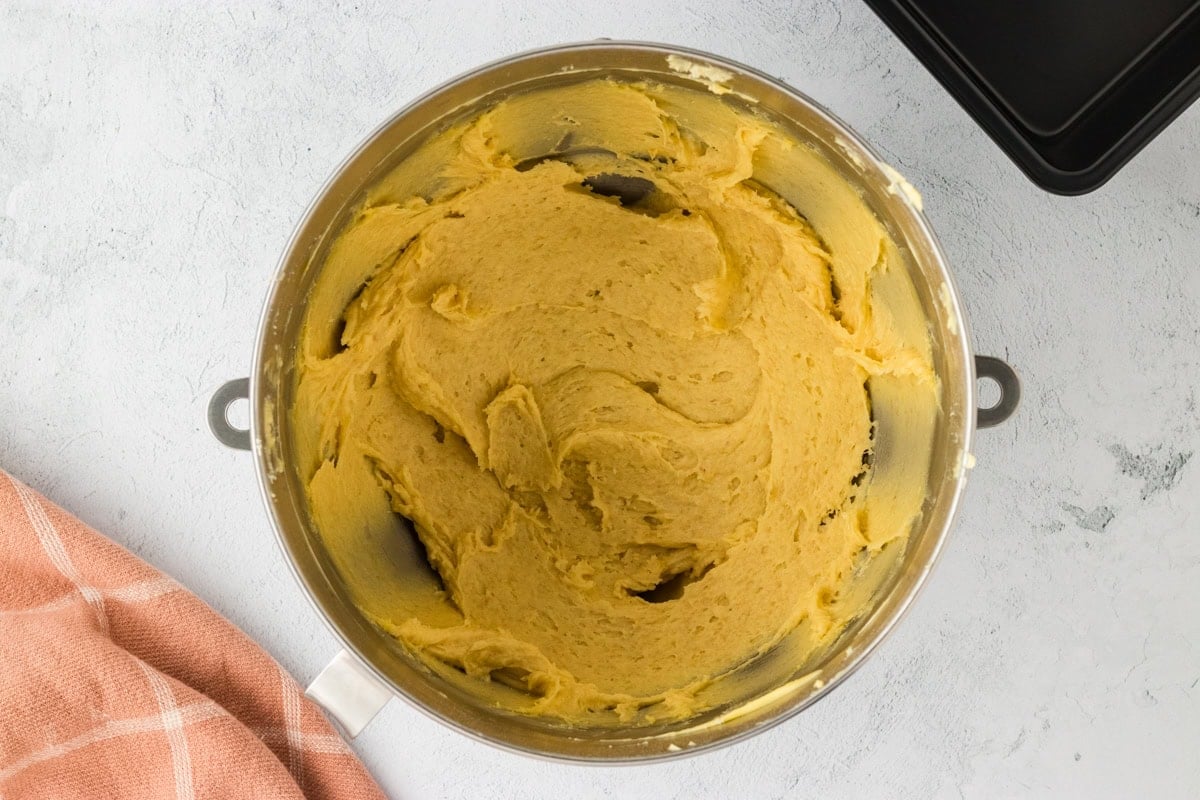
Once mixed, slowly pour in ½ cup warm milk and allow the mixer to continue to stir gently until everything is incorporated.
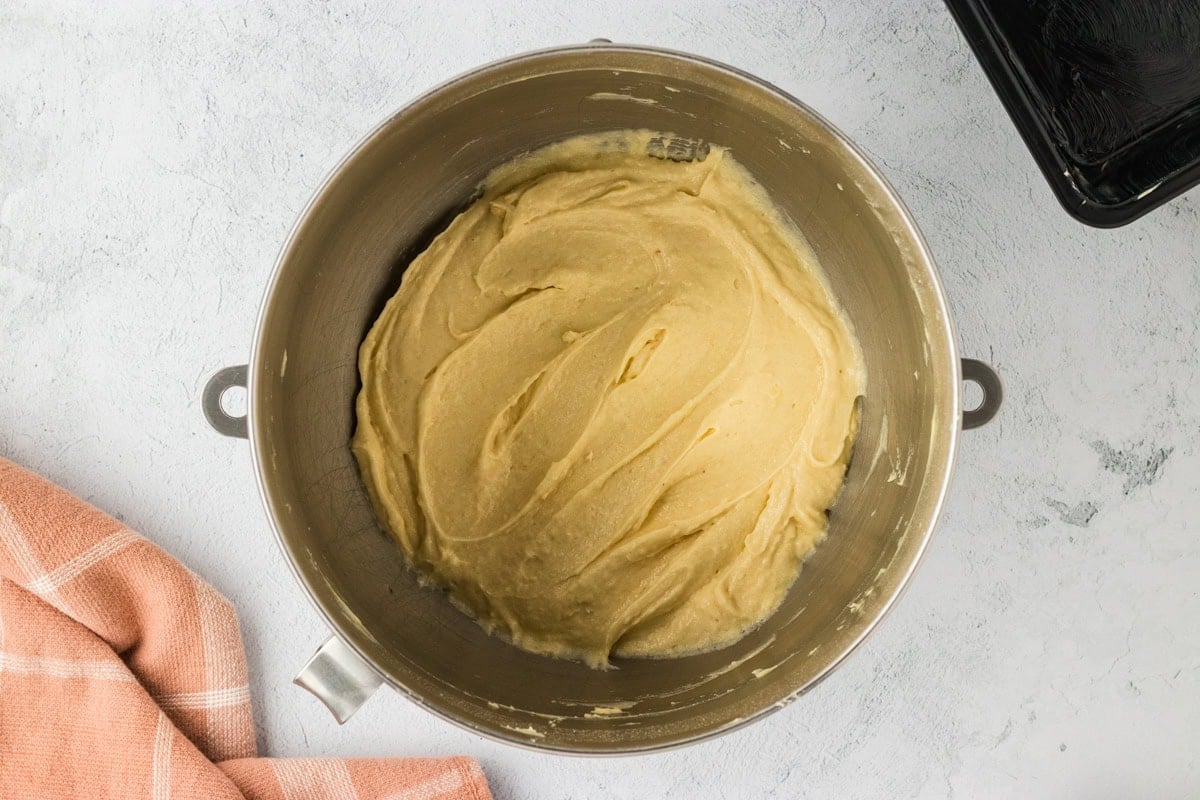
Mix on medium speed until your dough, which will resemble cake batter, looks smooth.

Butter an 8 ½ x 4 ½ loaf pan.
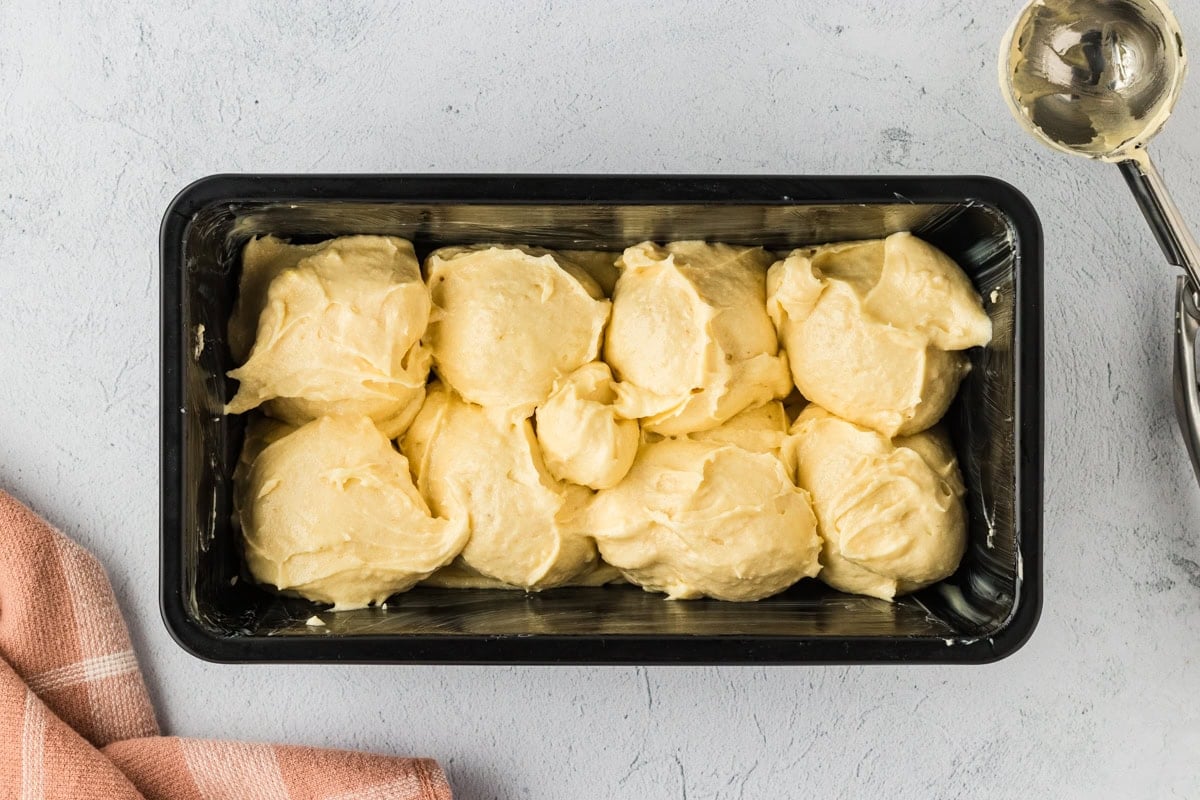
Use a large cookie scoop or spoon to scoop the batter into the loaf pan, creating lumps and valleys, which create that signature look on the top of brioche bread.
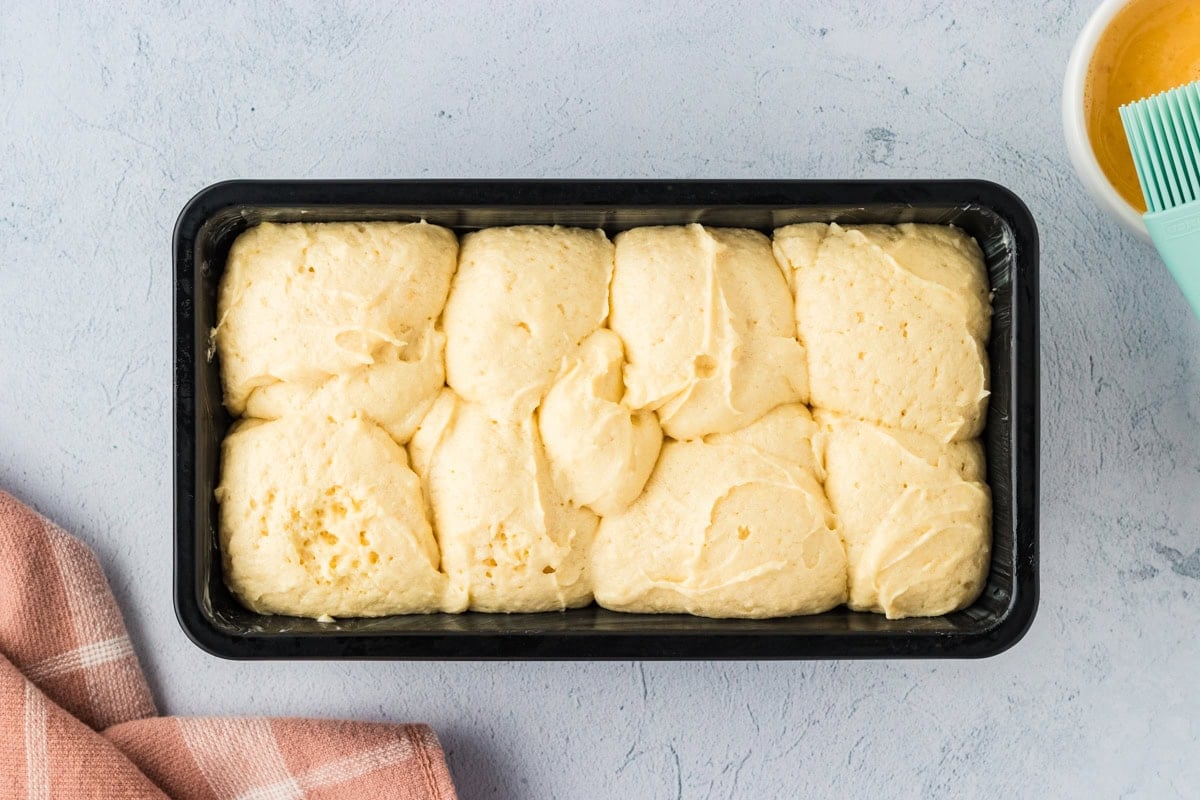
Cover with plastic wrap and allow the bread to rise on the counter until it almost reaches the top of the loaf pan. The time will depend on many factors, such as temperature and humidity, but try 45 minutes to an hour first and then check on it in 10-minute intervals until it reaches the correct height. Mine took about an hour to rise.
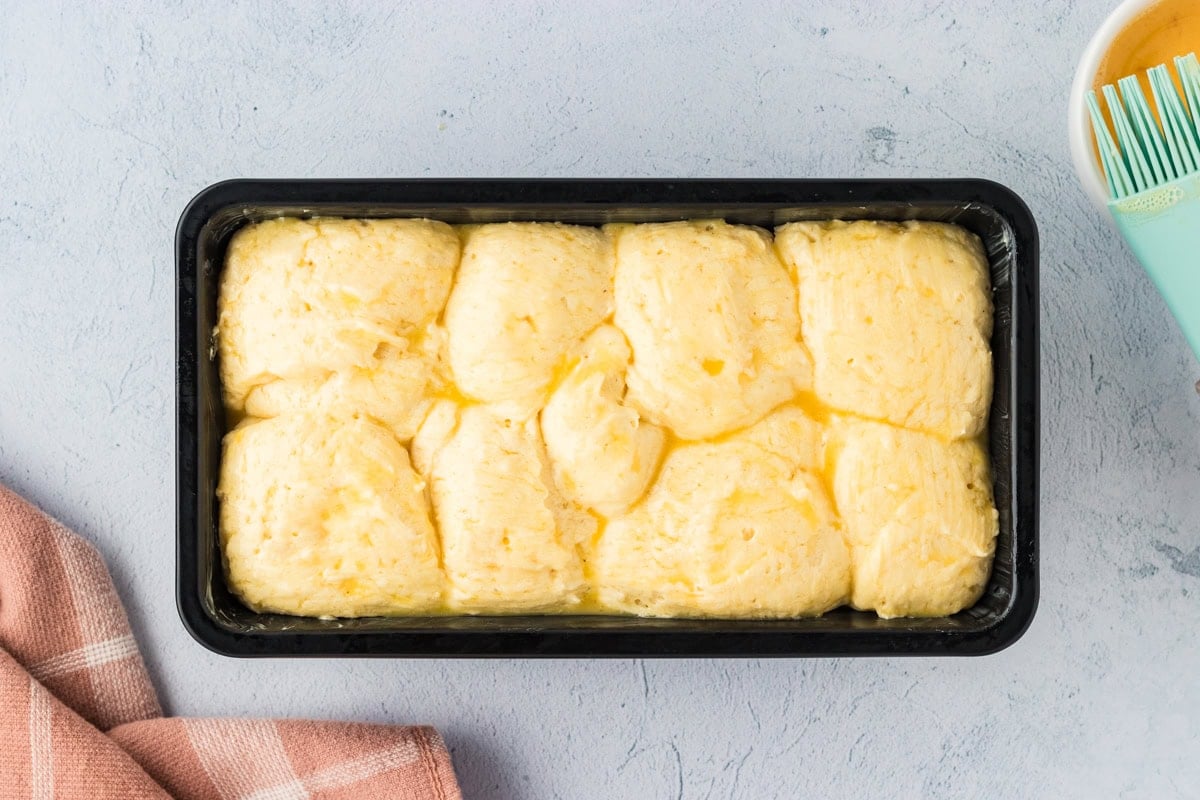
Preheat the oven to 350°F, and while it’s preheating, gently brush the top of your loaf with an egg wash made from the remaining egg.
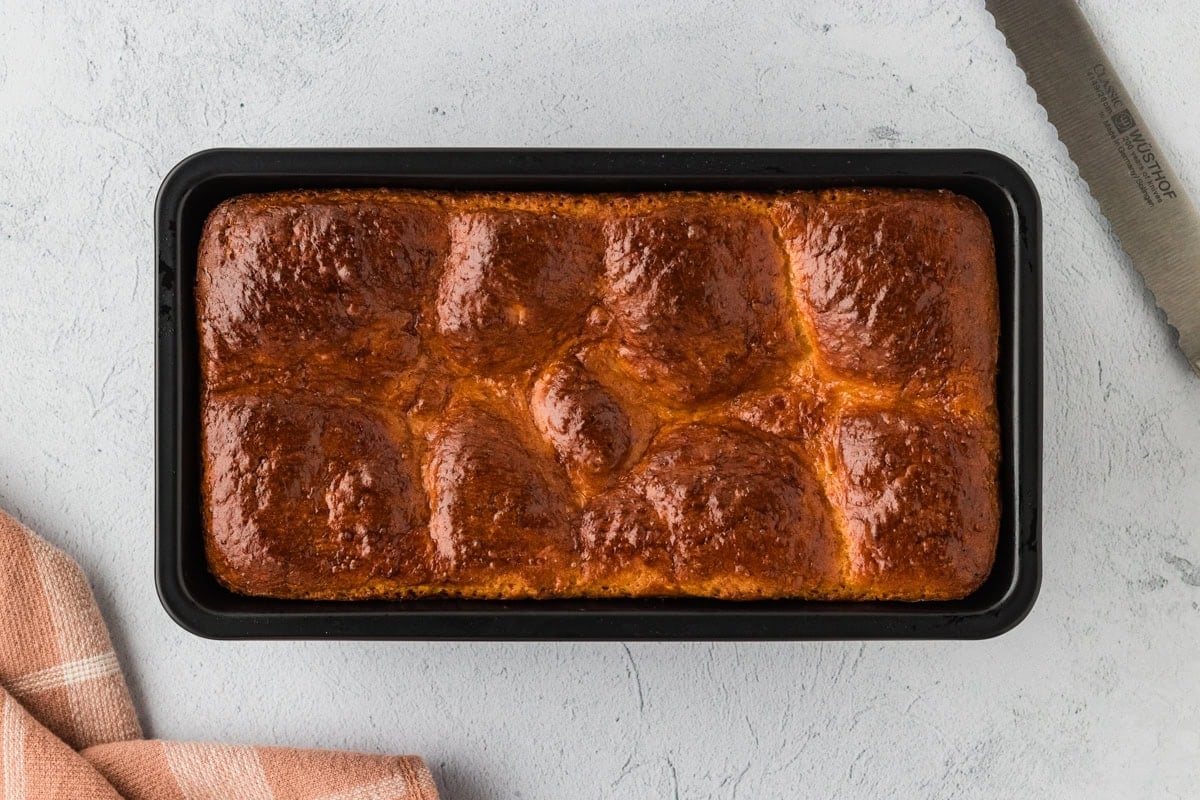
Bake your bread for 30 minutes, until a cake tester comes out clean, and allow it to rest and cool in the loaf pan for about 30 minutes before removing it. Allow the loaf to rest until cool, then cut and enjoy with butter, jam, honey, or all of the above!



What can I substitute the psyllium husk for?
Hi Yasmim, you could try substituting an equal amount of ground chia or flax seeds!